vsmStudio - Panel Editor 4 - Working with Buttons
Edit Buttons
Buttons can be edited within the panel editor
Moving and the size of Buttons
Position and size of single buttons can be changed. It is possible to select multiple buttons while pressing the shift button. The selected buttons can then be moved across using the keyboard navigation buttons. Holding shift and using the keyboard navigation buttons the size of one or more buttons can be changed.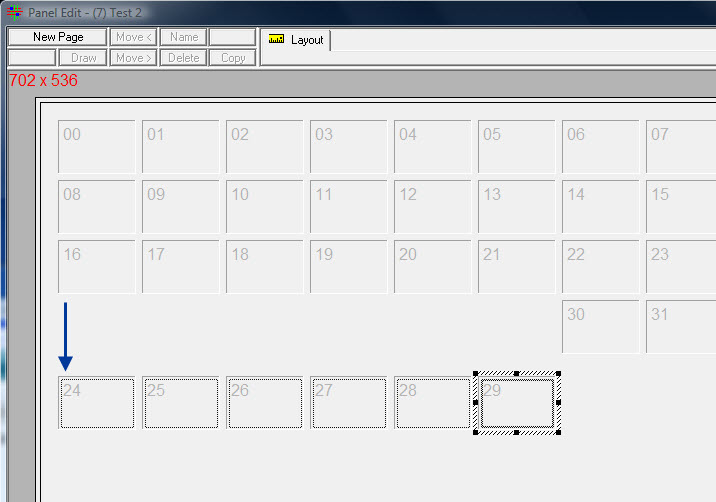
Edit unassigned Buttons
If multiple unassigned buttons are selected, a right-click on them will open the following menu: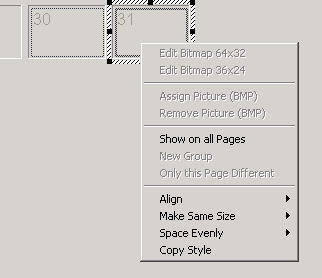
Show on all Pages: If the option Show on all Pages is selected, this button will be visible on all panel pages. Buttons marked as Show on all Pages have a thin black frame.

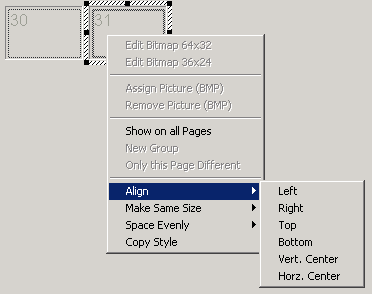
Align: The option Align allows the adjustment of the button layout. Buttons are aligned either to the left, right, top, bottom, vert. Center or horz. Center.
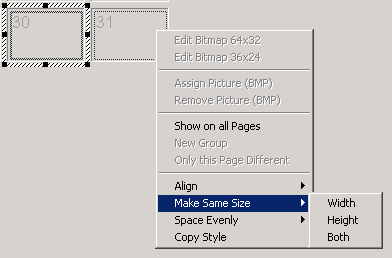
Make Same Size: Selecting the option Make Same Size will adjust multiple buttons to the same size. Buttons can be matched in terms of height, width, or both height and width. The button sizes will be adapted to the size of the last selected button.
Space Evenly: This function will adjust an evenly distance between several selected buttons.
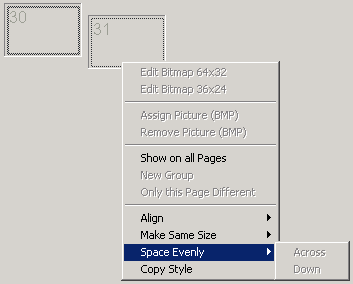
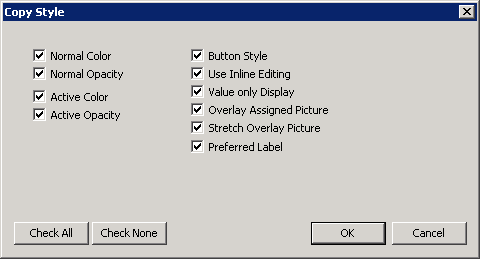
Copy Style: Once selected the Copy Style window opens where you can decide which style setting should be copied.
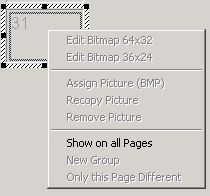
If a single unassigned button is selected, a right-click on them will open the following menu:
Edit assigned Buttons
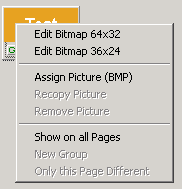
Edit Bitmap 64x32: If the first option, Edit Bitmap 64x32 is selected, a window opens in which the button label can be edited. 64x32 hereby indicates the number of pixels.
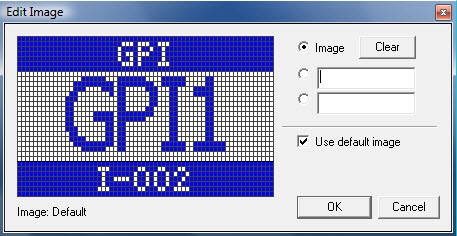
Image is selected by default. The existing button label can be deleted by left-clicking onto Clear. The content for the first line on the button can be entered in the first empty box below. As long as this line is selected, the text in this field can be moved freely to the left or right while holding the left mouse button until OK is selected. The second text field represents the second line of the button. This field can be named like the one mentioned above. If the checkmark in front of Use default image is removed, a different label can be assigned to the currently selected button. Selecting OK will confirm the changes. If Cancel is selected, the changes will be discarded.
Edit Bitmap 36x24: Selecting Edit Bitmap 36x24 after right-clicking on a button will open the following window:
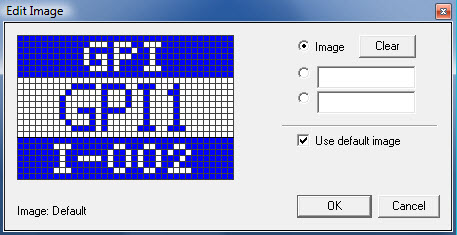
In general, this window offers the same settings as those described above. However, the number of pixels is only 36x24 in this scenario.
Assign Picture (BMP): With the option Assign Picture (BMP), an image can be assigned to a button.
Recopy Picture: With the option Recopy Image, the image can be reassigned to this button.
Remove Picture: The option Remove Image deletes an image that was assigned to the button earlier.
Show on all Pages: If the option Show on all Pages is selected, this button will be visible on all panel pages
New Group: Selecting New Group will start a new group beginning from the page on which this option is chosen. A button placed on that specific page will therefore be visible on all following control panel pages.
Only this Page Different: If the option Only this Page Different is selected, only the pages on which this option was selected will be displayed differently. On the following page, the previously assigned button will be visible again.