vsmStudio - UMD

Introduction
Under Monitor Displays (UMDs) are a hardware option that can be added to a VSM system to display source and tally information, timers, clocks, etc. Each one must be added to the vsmStudio configuration.
This chapter covers the configuration of UMDs.
First Steps
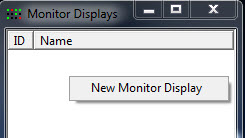
To open the configuration window for UMDs, click on the respective button in the main menu bar. The Monitor Display window appears listing any previously configured UMDs. If none have been configured, then the list will be empty.
New UMD
Right-click inside the window to begin the setup of a new UMD:
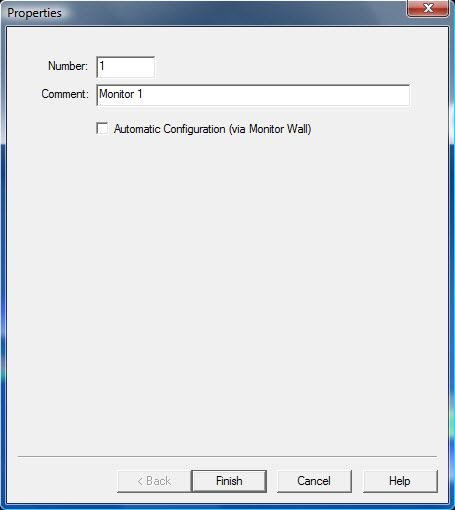
In the Properties window, enter an ID and a name for the UMD in the fields following Number and Comment, respectively. The ID has to correspond with the hardware ID that can be defined with the rotary control on the back of the UMD. For the configuration of a monitor wall to which the UMD belongs, the UMD settings can be set-up automatically through the attribute Automatic Configuration (via Monitor Wall).
The created UMD will appear in the Monitor Display list and can be opened for further editing by double-clicking onto it.
Monitor Display Edit
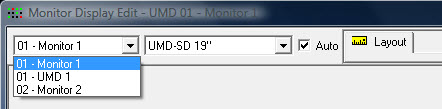
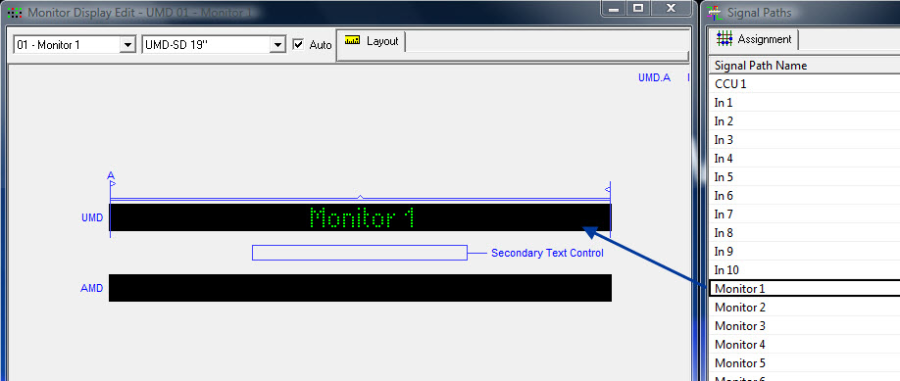
In the top left of the Monitor Display Edit window, the UMD that is to be edited can be selected through a drop down menu.
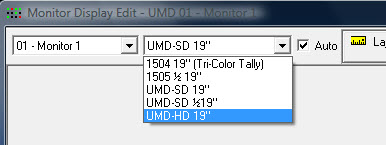
In the drop down menu directly to the right, the hardware UMD to be configurated can be chosen: 19", ½ 19", SD or HD.
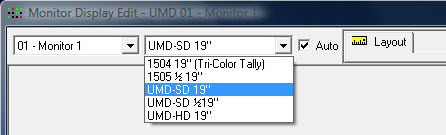
The box directly to the right determines automatically the size of the UMD and can therefore be ignored.
Display of a Signal Path
Placing a signal on a UMD
Through the edit view, it is possible to choose which signal will be displayed on the UMD. To do so, drag and drop the relevant signal from the master matrix (see Master Matrix) or the signal path list (see Signal Path List) into the UMD line.
Creating and Editing Segments
The small arrows above the UMD line can be used to change the size and orientation of the displayed segments. To add additional segments, right-click into the UMD.

These segments can be equipped independently with different signals.
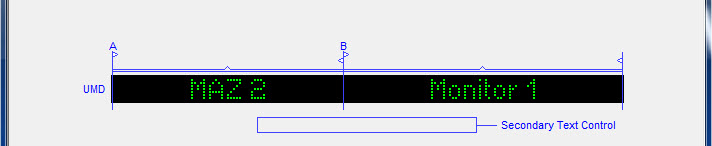
Two signals on UMD
A segment can be deleted or its properties edited by right-clicking on it.
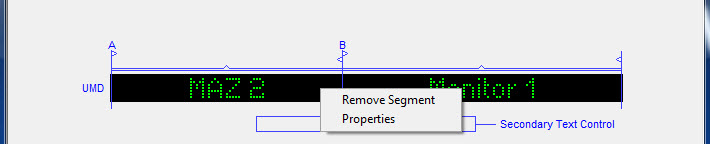

Defining segment properties
In the window Modify Segment, different attributes concerning the font on the UMD can be edited:
- A static text can be entered in the field beside Text. This text will be displayed on the UMD and overlays the signal.
- The font size can be set to Normal or Small.
- Under Orientation, the position of the displayed text in the relevant segment can be defined.
- Set the checkmark in front of the attribute Inverted to invert the font. It will then be displayed with a negative colour theme.
- Under Special, it is possible to define whether (target specific) font or the time should be displayed.

Example UMD
The screenshot shows an example configuration for a UMD that inverts a target in small font oriented to the left in segment A and shows the time in segment B.
Displaying a Timer
A timer can also be displayed on a UMD (see Timer on UMDs). To do so, drag and drop the timer into a UMD segment. The timer display thereby orients itself always by the timer's current status (stop, run, reset, etc.).
Displaying Secondary Labels
Generally, a UMD shows the primary label. To display a different label, it is necessary to use a GPO that will switch between primary and secondary label. To do so, create a GPO and drag and drop it from the GPIO list (see New GPIO) into the field Secondary Text Control.

GPO for display of the secondary label
When the GPO becomes active, the UMD switches to the secondary label. As soon as the GPO is deactivated, the display jumps back to the primary label.
New AMD
The AMD line below the UMD can only be used by one signal. Additional segments cannot be added. All other settings can be configured analogously to those described for the UMD line above.

AMD configuration
Configuration UMD-HD
Even though the display deviates slightly from that of the UMD-SD, a UMD-HD is generally configured like a UMD-SD. To switch between the two, use the drop down menu at the top of the screen.
There are, however, a number of additional attributes available for the UMD-HD.

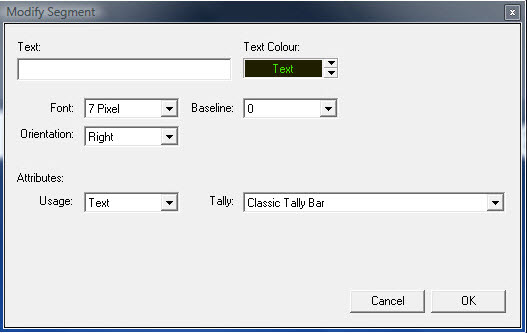
Editing a segment
Under Text Colour, the font colour can be changed between red, yellow, and green colours and shades. There are four different font sizes available, specified in pixels. The option Baseline allows changing the vertical position of the text.
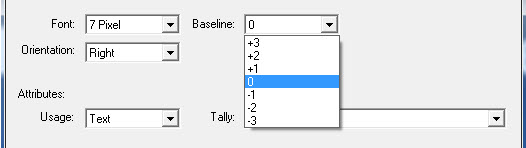
Vertical adjustment of the text
Orientation defines the positioning of the font in the segment. Under Usage, the purpose of the UMD is determined, meaning whether it serves the display of a text, of the time, of a peak meter, or of another special function.
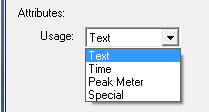
Selecting a purpose
Moreover, the display of tally, for example as text or traditionally with tally bars, can be specified.
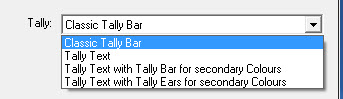
Tally settings