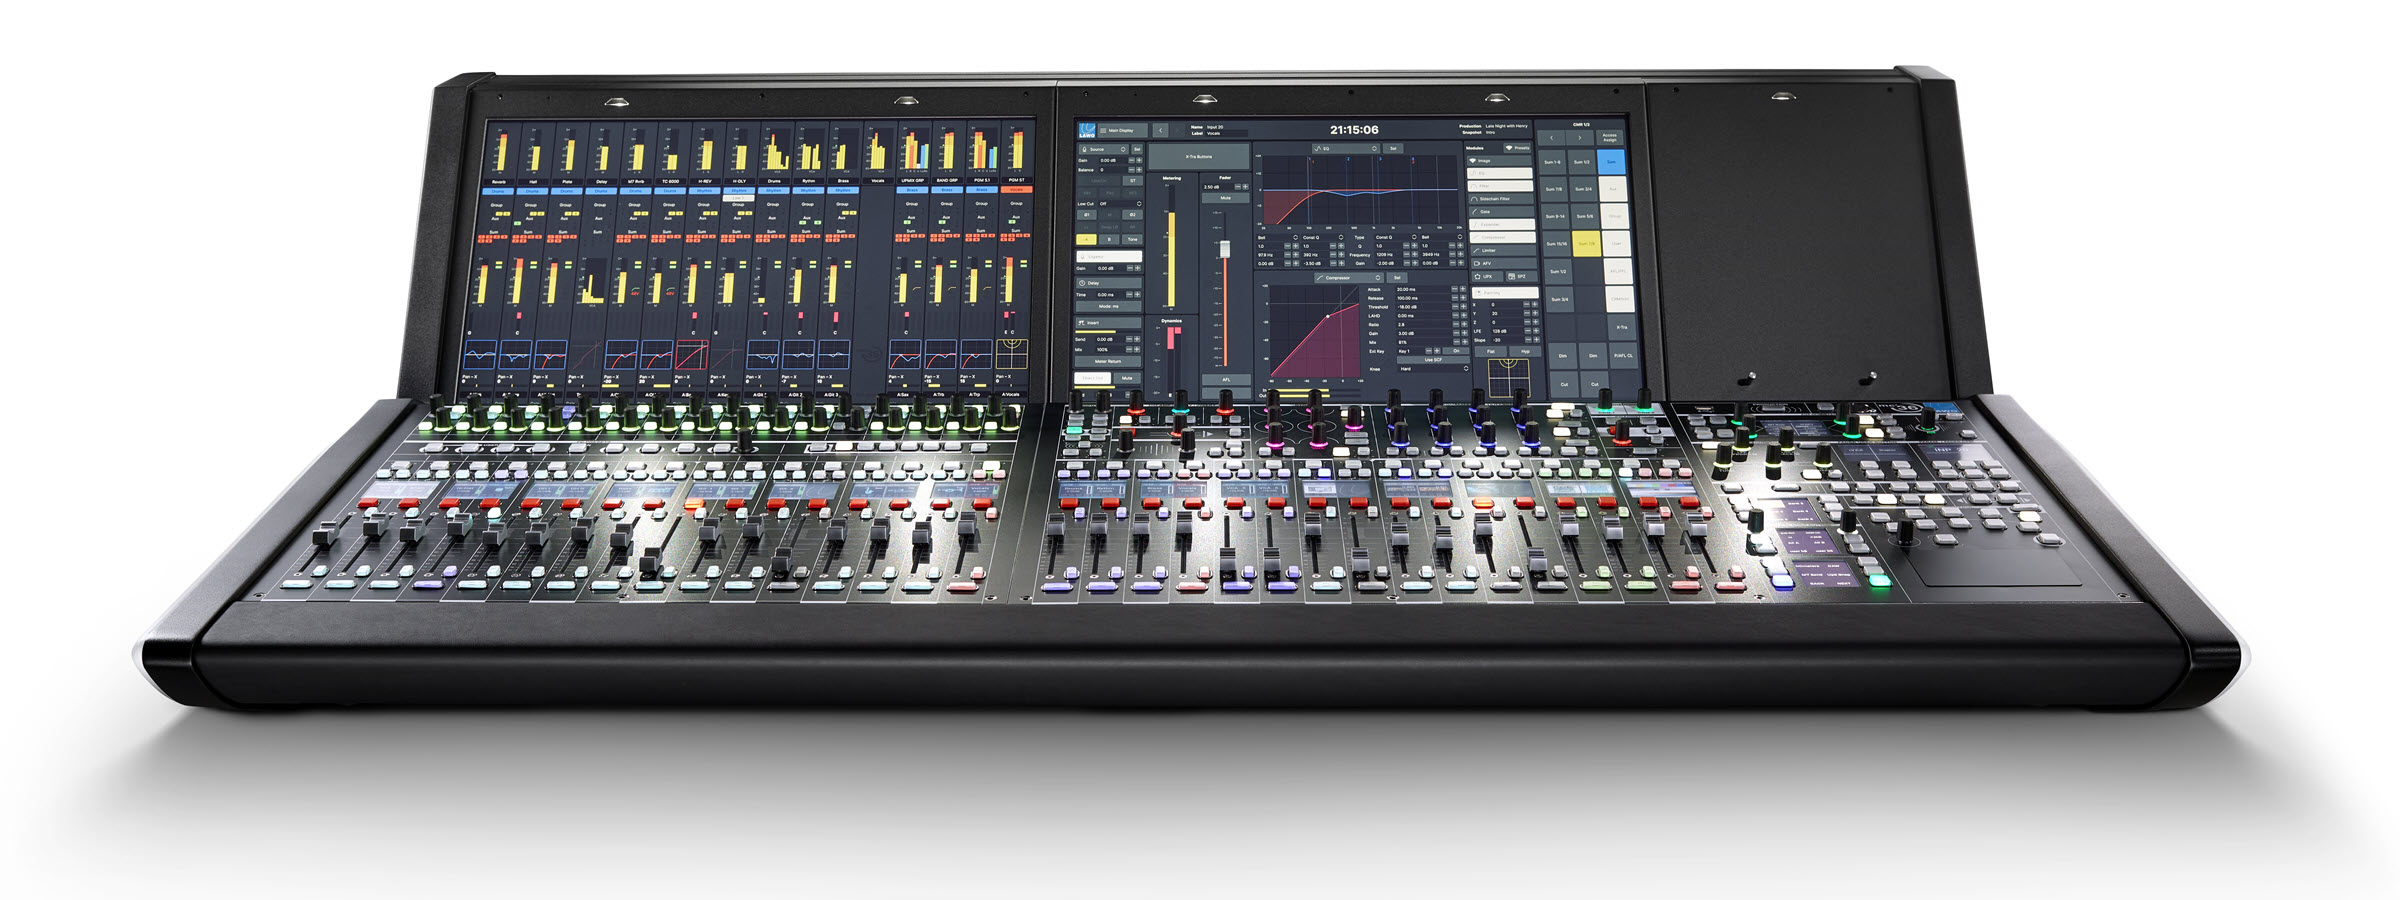
mc²36 - Power On
To get the system operational, you will need to power on the system components and establish their network connections.
Please note:
- The A__UHD Core handles all DSP and I/O streaming. This means that, to pass audio, there must be a valid network connection to the Core.
- In the standard mc236, the A__UHD Core is housed internally within the console frame (and so the connection is made automatically).
- In the mc²36 xp, the A__UHD Core is installed as an external device (and must be connected and powered separately).
- Once the system knows about an I/O device, its signal routing can be prepared while the device is offline. This allows you to connect the I/O stageboxes at any time.
Powering On
1. Turn on power to the control surface and A__UHD Core.
In both cases, the mains connections are at the rear. Only one connection is required; the second provides redundancy.
2. Once power is applied, the control system boots in a few seconds.
During this time you will see the boot-up progress on the console's displays.
For the mc²36 xp, if the control system is hosted externally, then the surface will refresh/update once a valid network connection to the XCS host server(s) is made.
3. At the end of the boot-up, the system loads the latest settings (stored at shut-down).
The console is ready for operation, once the start-up screens are replaced by the Channel Display and Central GUI.

Checking the Network Connections
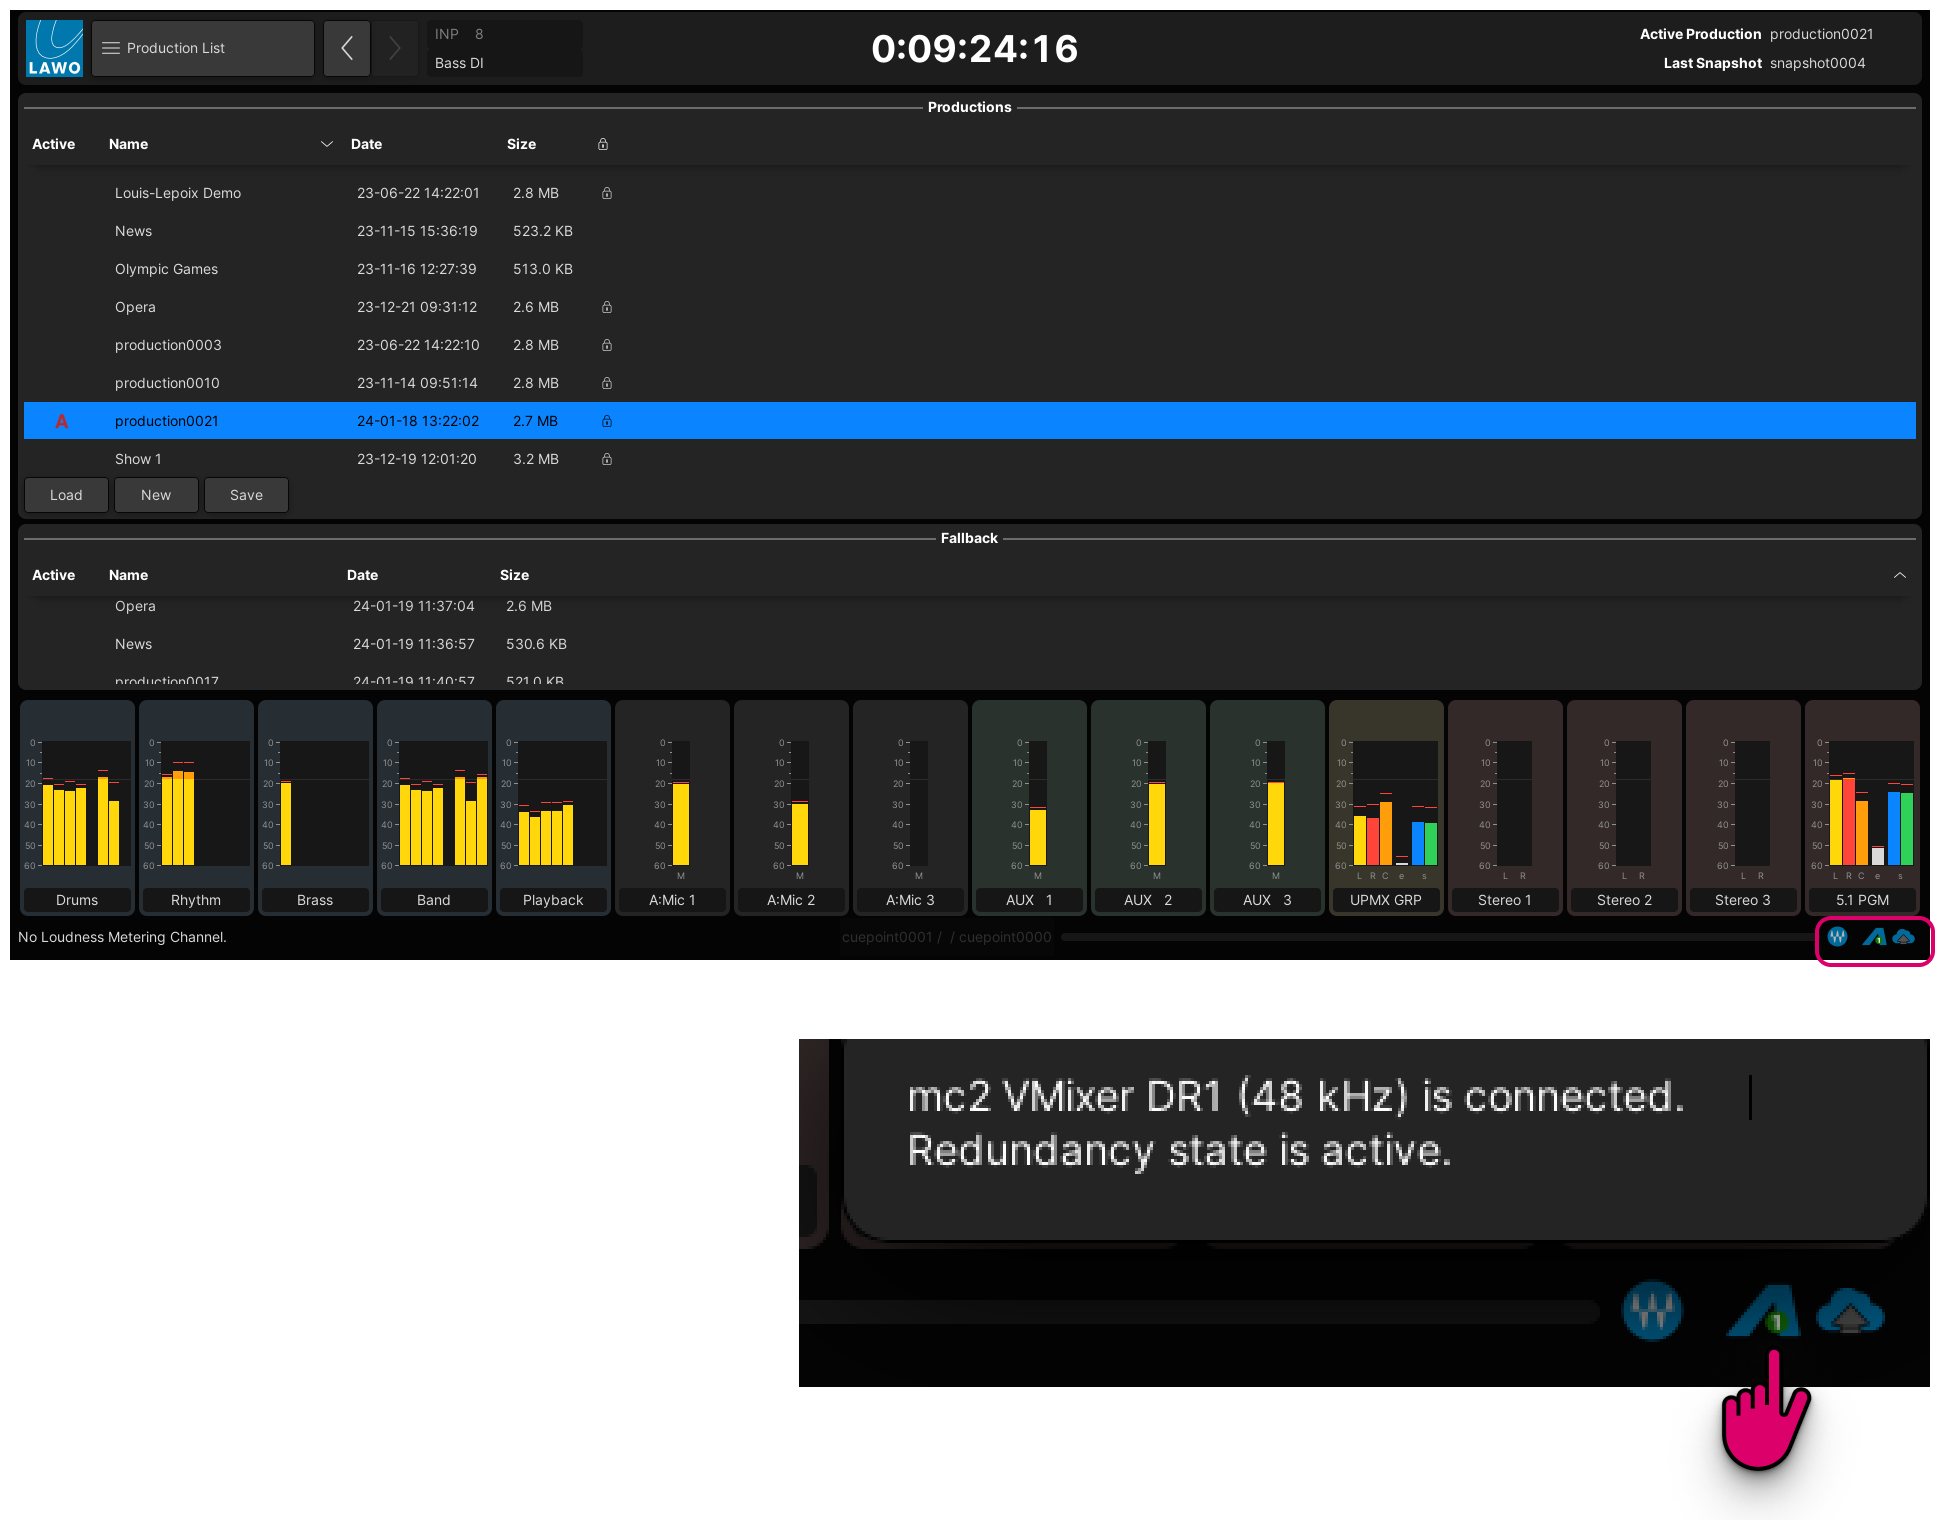
There are always two icons visible: one for the control system and one for the primary A__UHD Core. A further two icons may be present if the Waves plug-in server and/or a redundant A__UHD Core are configured.
In each case, use the trackball to hover over an icon to reveal more information.

From left to right, the icons show the following information.
- W - the Waves plug-in server.
- Red = offline; Blue = online.
- Hover over to see the IP address of the Waves SoundGrid server.
- A1 (and A2) - the primary (and secondary) A__UHD Core.
- Red = offline; Blue = online and active; Grey = online and inactive (redundant).
- Hover over to see the name of the Virtual Mixer slice, the operating frequency (e.g. 48kHz) and the redundancy state (active or inactive).
- Cloud - the mc2 control system (internal or external).
- Red = offline; Blue = online.
- Hover over to see the IP address of the control system.
Next Steps
At the end of boot-up, the system loads its warm start data. This means that all settings come back exactly as they were at the last shutdown.
Depending on who was last using the console, you may be sat in front of a fully configured control surface or a series of blank fader strips! In either case, the fastest way to reset the system is to load a production.
Powering Off / Shutdown
There is no special shutdown procedure for the hardware so simply turn off the mains power to the control surface.
The system is shut down when the blue LED of the trackball is off.
You can switch off the power to other components at any time.
FAQs
Q: What is stored in the warm start data?
By default, the following settings are stored in the warm start data and are loaded at the end of boot-up. This ensures that all settings come back exactly as they were at the last shut down.
The following settings are stored and recalled by the warm start data:
- The network and streaming configuration (defined by HOME).
- Matrix crosspoints and I/O parameters such as mic/line input gain, SRC on/off, etc.
- The DSP configuration and mix parameters such as EQ, Dynamics, Fader levels, etc.
- All other user settings such as the fader strip assignments, etc.
Q: When should I use a cold start?
A cold start boots without loading any warm start data. You should perform a cold start only if there is a problem with the warm start data, or if you wish to clear all warm start data from the system.
Q: How do I perform a cold start?
The control system can be set to cold start, following the next reboot, by selecting the Global → System → Prepare Coldstart option in the System Settings display. First, enable the option, and then restart the control surface.
Following a cold start:
- All matrix connections are cleared, unless protected by the factory-configuration.
- All I/O parameters are set to factory default values.
- A default DSP configuration is loaded. This can be defined from the Custom Functions display using the Default Coldstart DSP Variation.
- All DSP parameters are set to factory default values.
All other user settings are cleared. i.e. no fader strip assignments, etc.