vsmSnap - Installation & Setup
Checklist
To get your system operational, please complete each of the following steps:
- Download and install the software components on the configuration PC.
- Connect all devices to the network and run vsmDiscover.exe (to detect each vsmSnap panel and define its TCP/IP settings).
- Configure the settings on each router/switcher from its user interface.
- Use the vsmSnap.exe application to configure the system.
The rest of this chapter covers these steps in more detail.
Installing the Software
The latest versions of all software components are available from Lawo's download center at www.lawo.com/download (after login).
- Check that your configuration PC meets the System Requirements
- Download the .zip file and extract its contents into one local folder - there are four files to support both vsmSnap and vsmDiscover.
- Run the vsmSnap installer (named Setup.exe) and follow the on-screen instructions. Note that you will need administrator rights to perform the installation.
- Once the installation is complete, run Windows Update to check for any updates to the Microsoft .NET Framework. (vsmSnap requires at least Microsoft .NET Framework 4.6.)
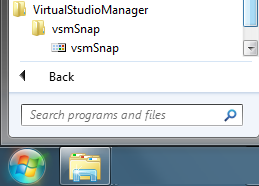
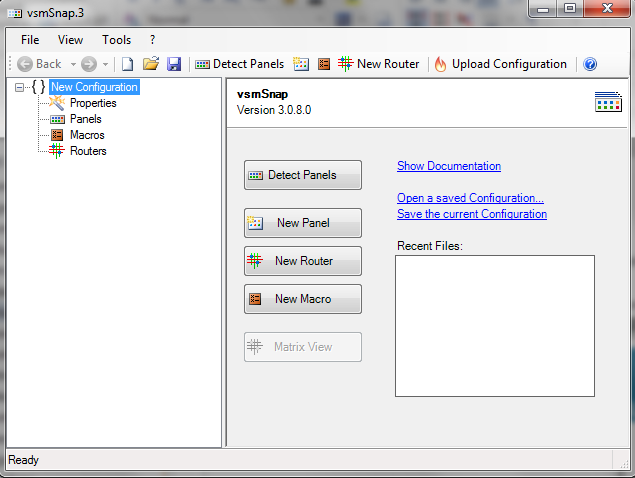
Following a successful install, the vsmSnap application is launched from the Windows start menu. The operation of the software is covered later.
Windows Start Menu
Connecting and Configuring the Network
Having installed the software, the next step is to connect all devices to the network and run vsmDiscover.
Panels are shipped from the factory with an Ethernet MAC address which is unique worldwide. vsmDiscover is used to detect all vsmSnap devices in the network (from their MAC address), and assign an IP address that is unique and valid for your network.
- Connect each vsmSnap panel, target router/switcher and configuration PC to your network. Note that you can use any network topology providing all components meet the System Requirements
- On the configuration PC, open the local folder containing all the software component files. Double-click on vsmDiscover.exe to start the application. On startup, the network is scanned and all panels that can be used with vsmSnap are listed. If the list is empty, press F5 or select "Discover->Start detection" to begin a new scan.
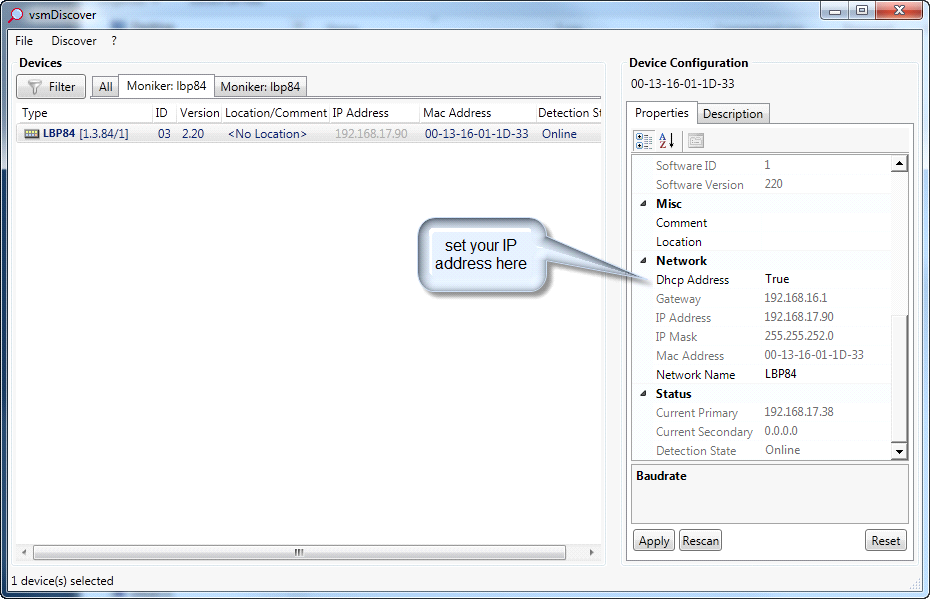
- Select a panel to view its Properties and edit the “Network” settings as described below.
- Click Apply to make any changes active.
Repeat for each vsmSnap panel connected to your network.
Network Settings
Most networks support a DHCP server, responsible for the dynamic assignment of IP addresses. While this is the safest way to obtain a unique IP address, the disadvantage of DHCP is that IP addresses are only “leased” for a certain time, and may change if a device remains unused for long periods. To avoid this behaviour, you can assign a static IP address by editing the IP fields manually. Note that this method requires full knowledge of your network's infrastructure as you must avoid IP conflicts with other devices.
To choose dynamic IP addressing (via DHCP), set the Dhcp Address field to True and click Apply - your network's DHCP server will now assign an IP address automatically (as shown in our screenshot above).
To assign a static IP address, enter the Gateway, IP Address and IP Mask fields manually.
Each panel MUST have a unique IP address which resides within the same IP range and subnet as the target Router.
Optionally, the Network Name can be edited to help identify each panel in the network.
For further assistance, please consult your network administrator.
Configuring a Controlled Device
Having defined the network settings for all vsmSnap panels, the next step is to check the settings configured on each router/switcher.
For the configured device in this example, it is important that:
- each router/switcher has a unique IP Address which resides within the same IP range/subnet as the vsmSnap panels and configuration PC.
- the Target Port is set to 62010.

AV-HS6000: Switcher Configuration
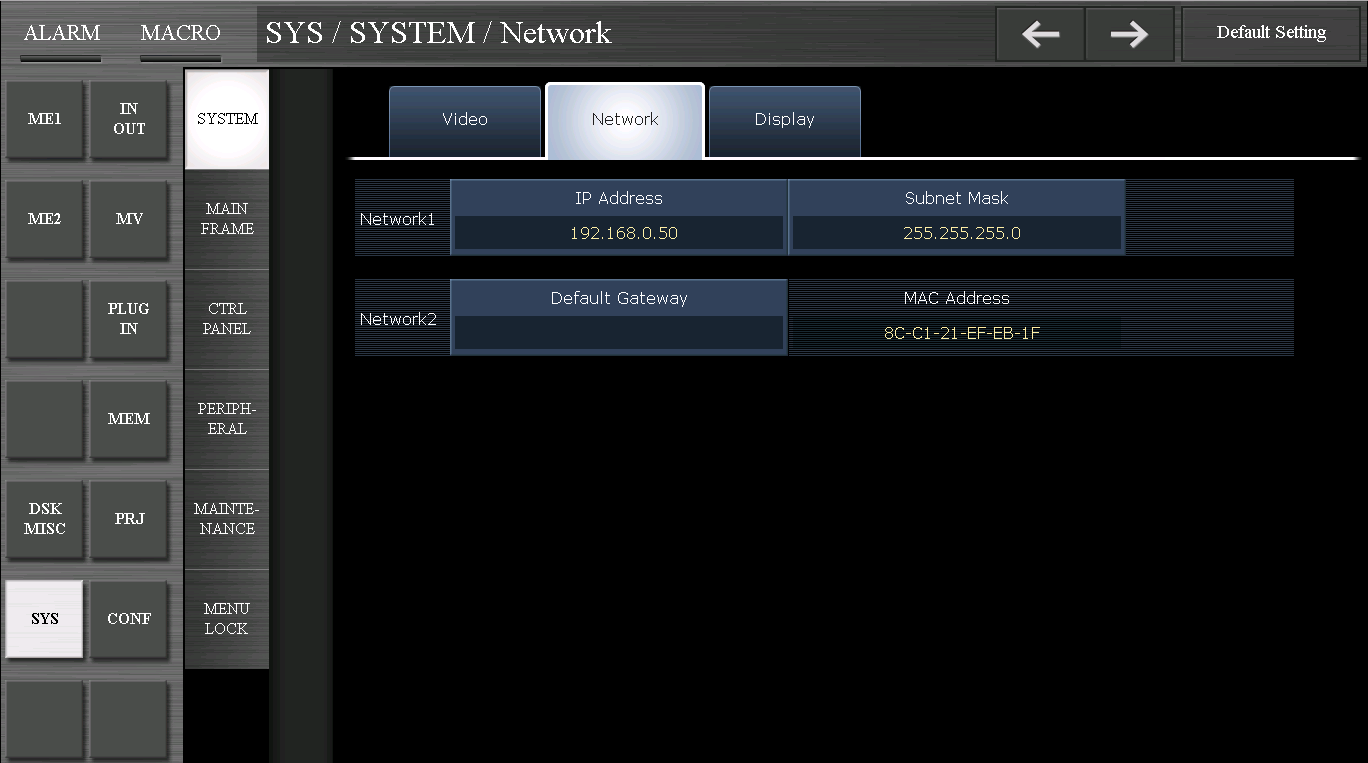
AV-HS6000: SYS -> SYSTEM -> Network

AV-HS6000: PLUGIN -> PLUGIN Maint -> Configuration
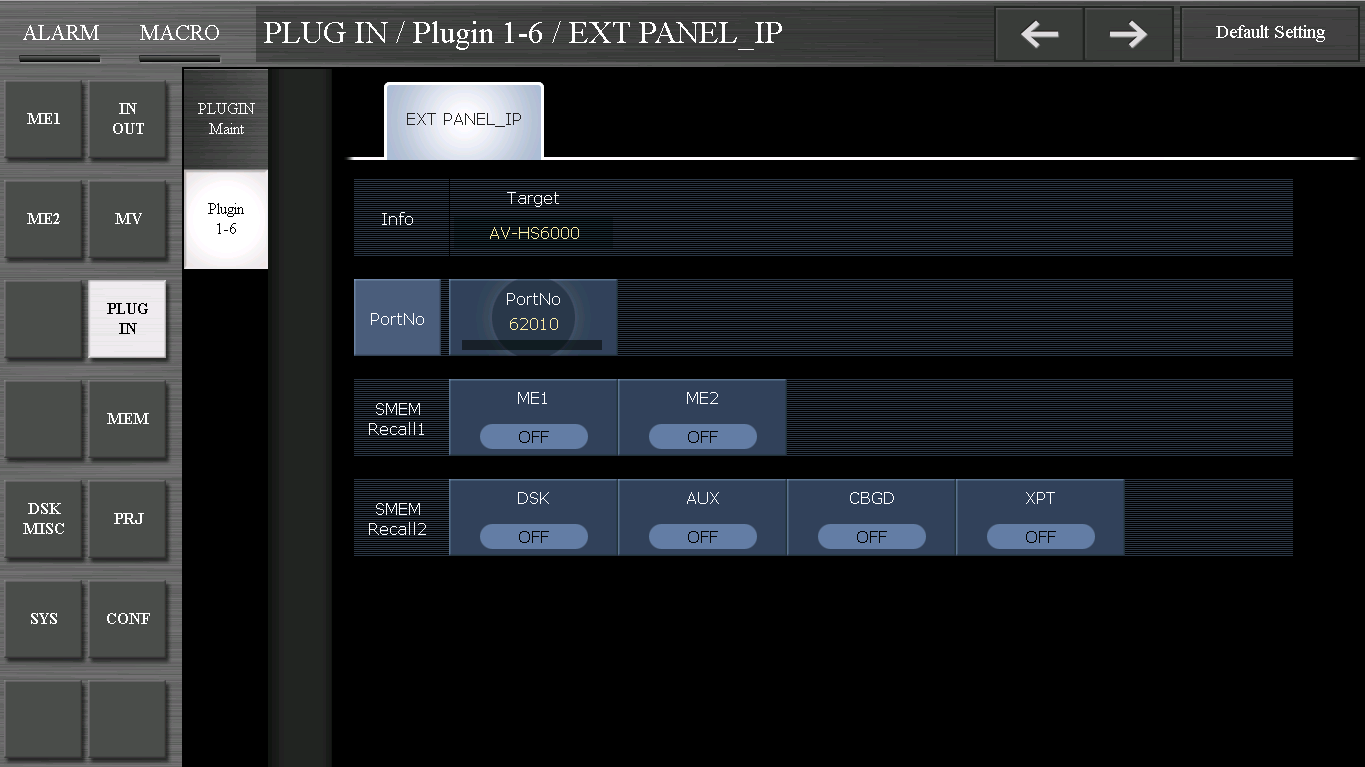
AV-HS6000: PLUGIN -> Plugin 1-6 -> Ext Panel Settings