HOME DSK - Advanced -> Video Keyer Controls
The Advanced → Video Keyer Controls allow the user to enable/disable each Keyer, set its keying mode and adjust other parameters such as the Keyer on/off transitions and Key Level.
There is a main page (with no controls) plus a sub-page for each keyer: Key 1, Key 2 and Key 3. Note that, whether all three keyers are available is dependent on the Number of Keys option in the app configuration. In the example below, all three keyers are configured and the parameters for Key 1 are shown.
For more information about the functionality, please see HOME DSK - Downstream Keying.
Video Keyer Controls → Key n
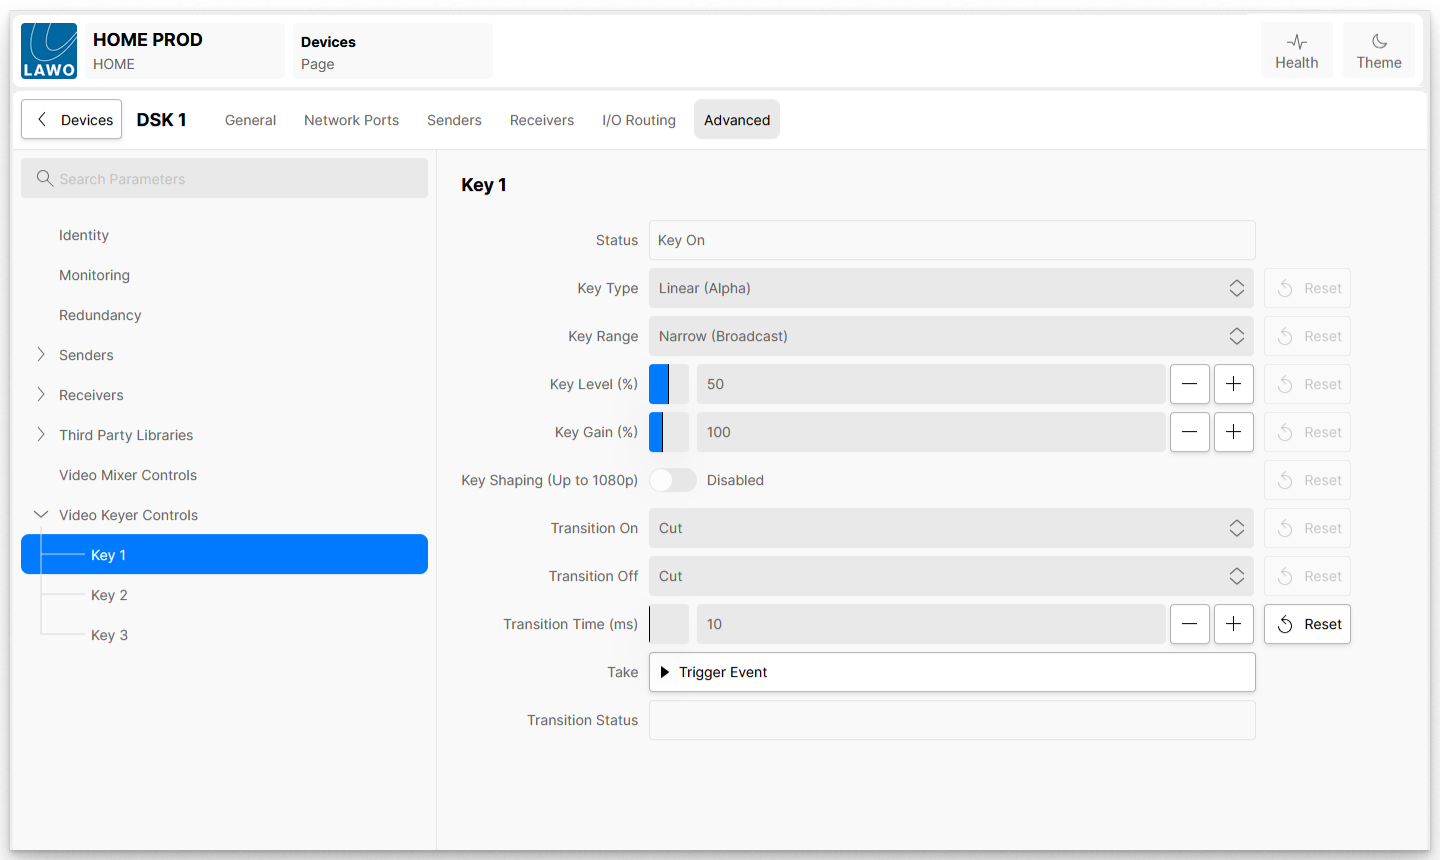
| Control | Description |
|---|---|
| Status | Displays the current status of the Keyer: either on or off. |
| Key Type | Sets the keying mode used. There are three possible options:
For more information, please see HOME DSK - Keying Modes. |
| Key Range | Used to tell the DSK the black and white levels on the key channel:
|
| Key Level | Applies when the Key Type = Luma or Self-Key. It sets the luminance level above which the Key signal should be considered as ‘white’. i.e. retained by the keying process. By default, areas at 50% luminance (grey) or above are treated as 'white'. For more information about Luma keying, please see HOME DSK - Keying Modes. If the Key Type = Linear, then the Key Level is ignored. |
| Key Gain | Applies a gain to the key channel. It can be used to lift the brightness levels of the key prior to the key being applied to the composite. |
| Key Shaping | Applies when the Key Type = Luma or Self-Key. It applies a simple softening filter to the areas of transition between black and white of the key channel. i.e. to enhance the Key edges. |
| Transition On | Defines the type of transition applied when the Keyer is turned on. There are two possible options:
|
| Transition Off | Defines the type of transition applied when the Keyer is turned off. There are two possible options:
|
| Transition Time (ms) | Sets the duration of the Key on/off transitions in milliseconds. The value can be set from 10 to 30000 milliseconds (0.1 to 30 seconds). |
| Take | When ‘Trigger Event’ button is pressed, this starts the prepared transition. The Keyer will transition either from on to off, or off to on, depending on its current status. |
| Transition Status | Displays the status of the transition, while the transition is in progress. e.g. Key On > Key Off. |