Lawo Flex - User Settings
The Settings page can be used to adjust your own personal settings for the portal. From here, you can:
- Edit your user name (displayed in the licensing portal).
- Change your password (used to sign in).
- Enable or disable the two-factor authentication code (used to sign in).
- Configure the authorized providers (offered on the 'Sign In' screen).
- Manage your email notifications.
To access the settings:
- Sign in to the license portal (as described earlier).
- Select Settings from the page menu.
- Choose a sub page (on the left of the working area).
All editable options are in the first two sub pages: Account and Notifications.
The other sub pages are for display purposes only, and can be opened to read the Privacy notice, Imprint and Terms of Use.
Settings → Account

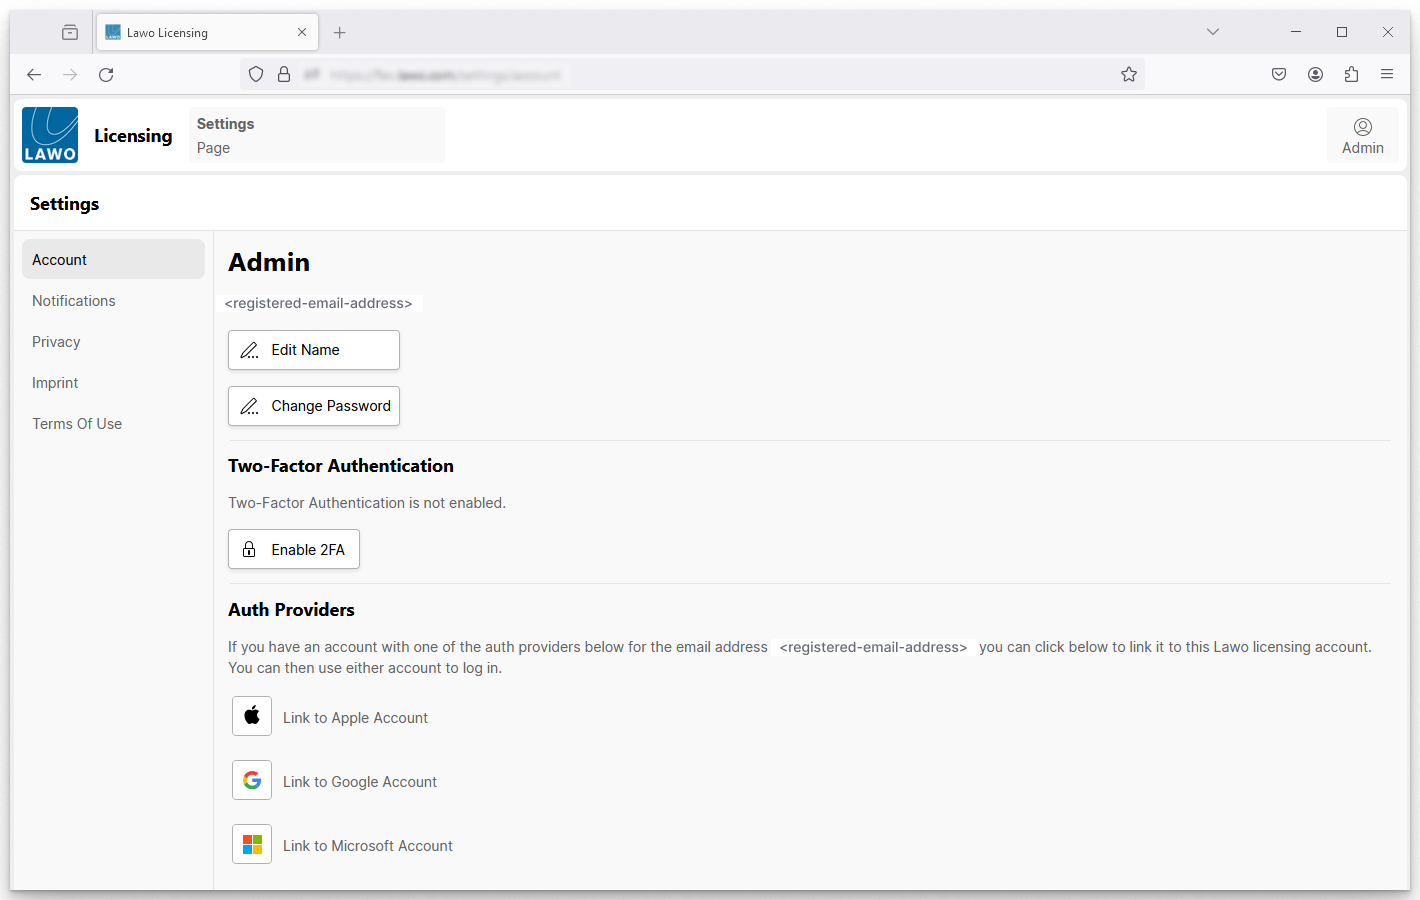
At the top of the Account sub page you will see your current user name (e.g. Admin) and registered email address. The following operations are possible:
- Edit Name
- Change Password
- Enable or disable Two-Factor Authentication code
- Link or Unlink to an Authorized Provider
Please note: the registered email address cannot be edited.
If you need to change your registered email address, then this must be done by adding a new user to the account (as described in Lawo Flex - Managing Users).
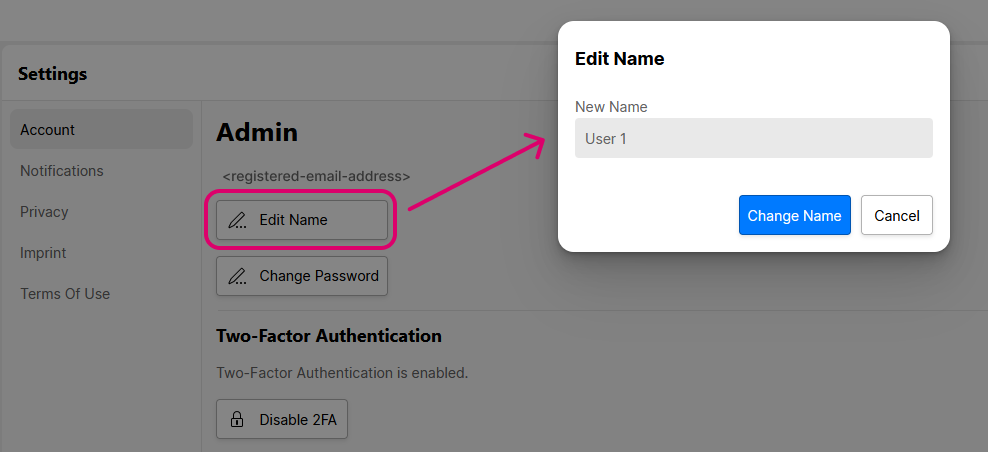
Edit Name
Select Edit Name to edit the user name (displayed in the licensing portal). A dialog opens where you can type in the new name. Select Change Name to confirm.

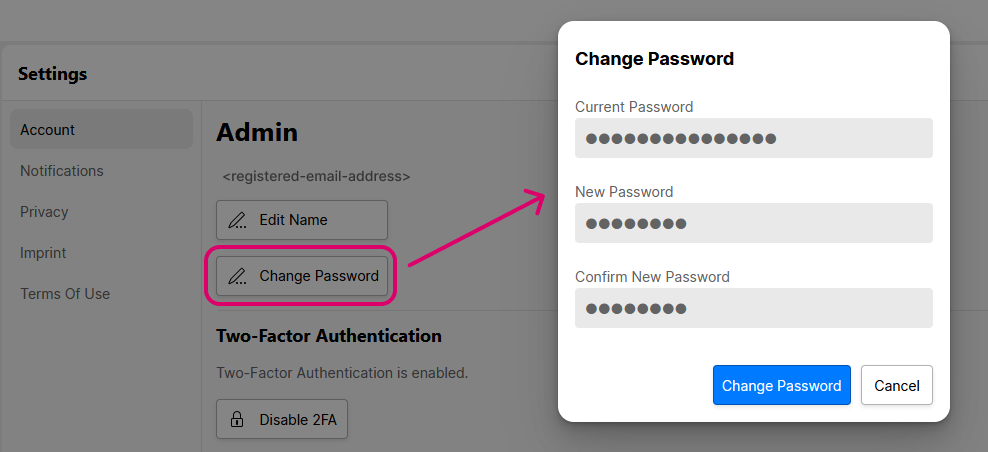
Change Password
Select Change Password to change the password (used for sign in). A dialog opens where you need to enter the current password and then a new password (twice). Providing the new password fields match, you can select Change Password to confirm.

Two-Factor Authentication
This area shows whether Two-Factor Authentication (2FA) is enabled or disabled.
If enabled, you are asked to enter a 6-digit 2FA code as part of the sign in process. It is recommended to enable this option, to provide additional security for your account(s).
To enable 2FA:

- Select Enable 2FA - a dialog opens.
- Enter your password and the phone number you wish to use. Then select Send Confirmation Code.
This step sends a text message (with the 6-digit code) to your contact phone number. - Type in the code.
- Providing the code is accepted, the dialog closes.
You will see a confirmation message (in green) and the Two-Factor Authentication status updates accordingly.
A confirmation email is also sent to your registered email address. - If you now sign out and back in, you are prompted to enter a 2FA (6-digit) code.
To turn off the Two-Factor Authentication, there are two possible methods: from the licensing portal or via the link provided in the confirmation email.
To disable 2FA from the licensing portal:
- Under Two-Factor Authentication, click on Disable 2FA.
- The status updates to show that the authentication is disabled.
Please note: after enabling the Two-Factor Authentication, you must sign out and back in again before you can disable the code. This step is necessary to protect your account(s).
Auth Providers
If you have an account with an authorized provider, then this can be used to sign in to the licensing portal. The following providers are supported: Google, Microsoft or Apple.
Please note: the provider account must use the same email address as your registered email address for the sign in to work.
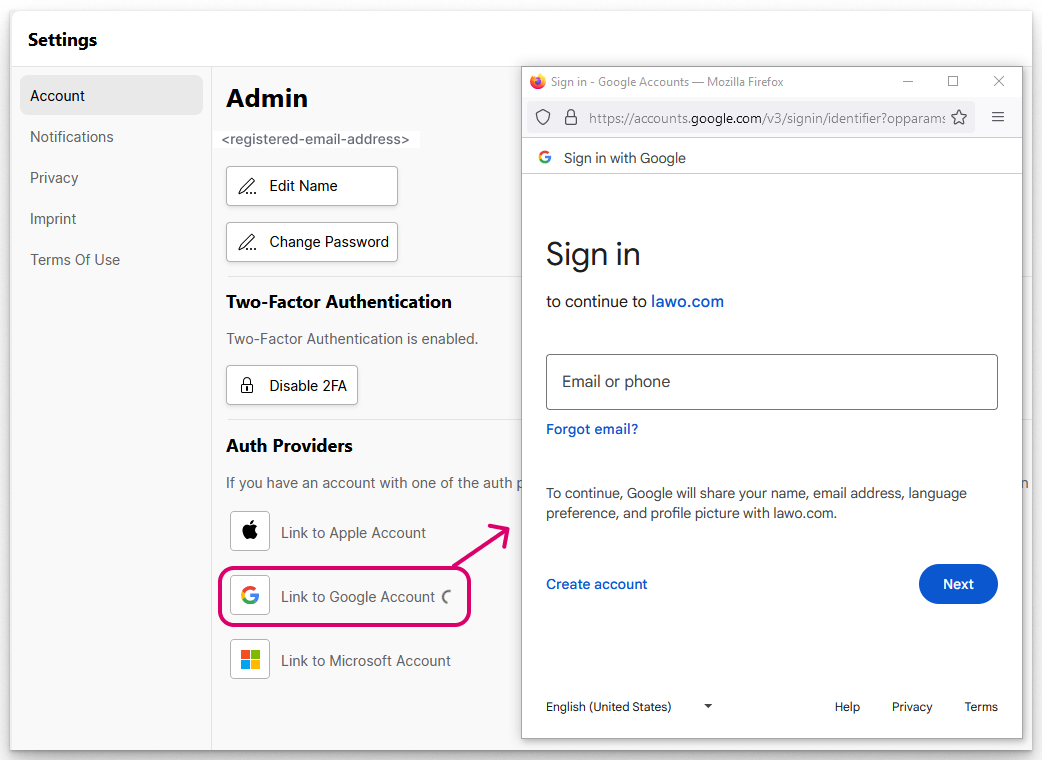
To configure the link to a provider:

- Select Link to... - a dialog opens with the provider's "Sign In" page.
- Enter your credentials to sign in to the provider account.
- Assuming the credentials are accepted, the dialog closes and the Auth Providers list updates accordingly.
To test the link, sign out (to return to the 'Sign In' screen) and click on the authorized provider logo (at the bottom of the 'Sign In' screen).
To disable the link to a provider, click on Unlink (beside the authorized provider name).

Settings → Notifications
The Notifications sub page can be used to view and adjust the notifications that you receive by email.

The first four notifications are always enabled and alert you when a new subscription arrives in the portal, is activated, cancelled or due to expire.
The other notifications can be enabled or disabled using the tick boxes. They can be used to alert you when credits are allocated to, or revoked from, a system.
All enabled notifications are sent to your registered email address (shown at the top of the Account sub page).