mxGUI - First Steps
This topic describes how to open and close mxGUI, and adjust the view (in the Virtual Machine).
Starting mxGUI
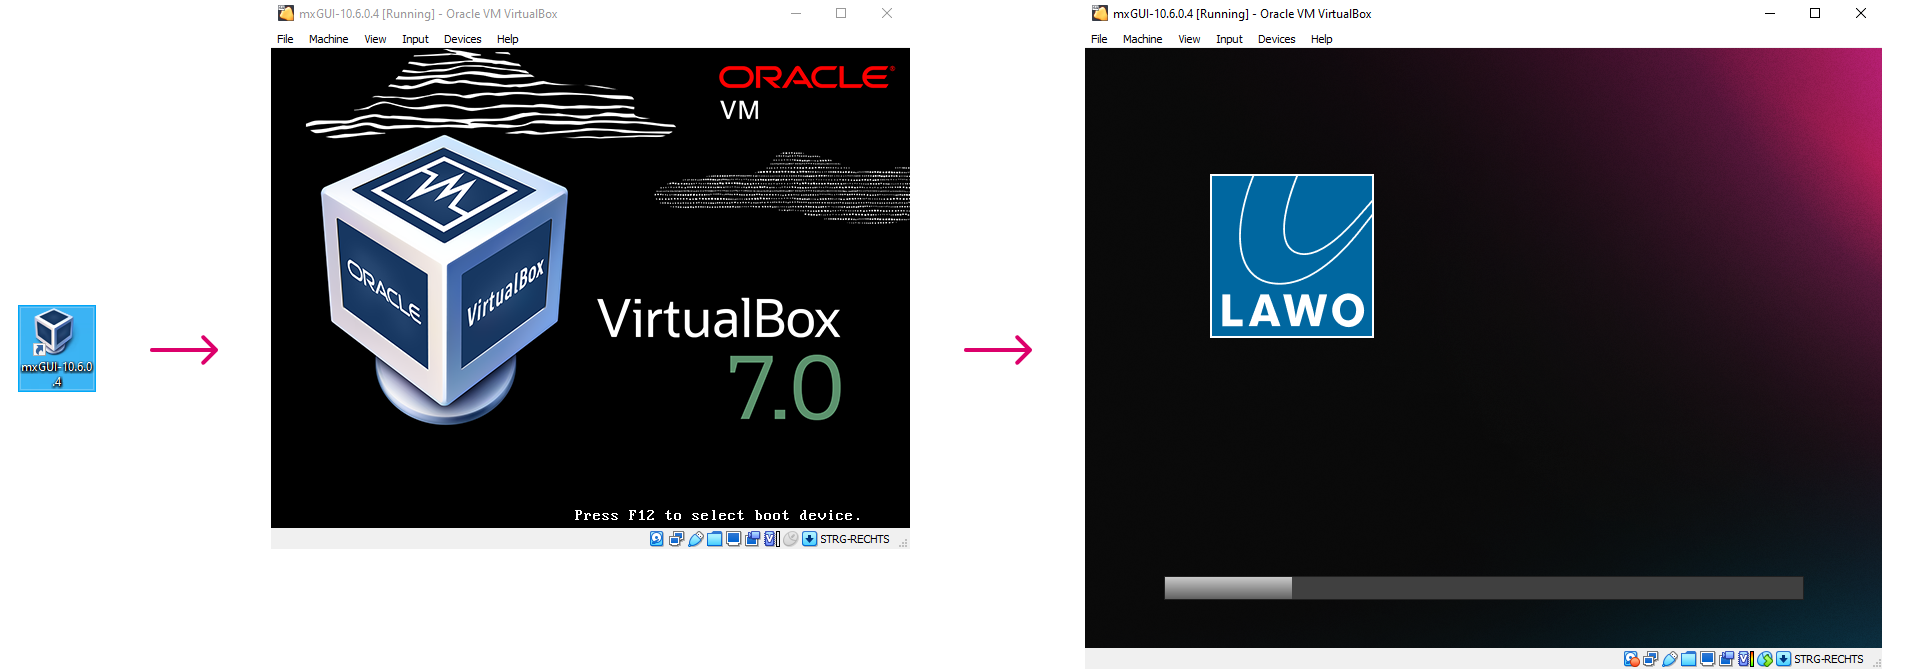
1. The easiest way to start mxGUI is to double-click on the mxGUI-X-X-X-X desktop icon (created during the installation procedure).
Alternatively, you can open the VirtualBox Manager and start mxGUI either from the right-click options or Start button.
A window opens where you can see the boot-up of the virtual machine (e.g. VirtualBox) and then the application (Lawo mxGUI). This can take some time - the boot-up progress is shown on-screen.
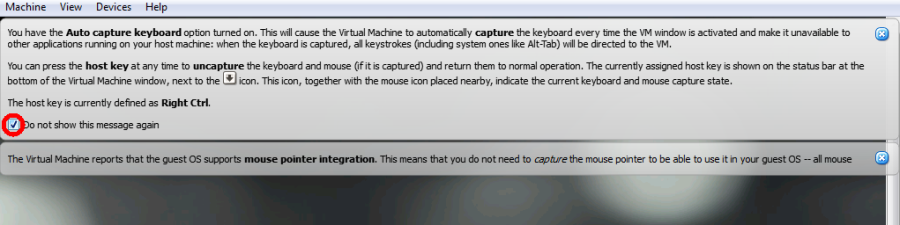
2. If you are starting VirtualBox for the first time, then you may see some additional messages that relate to the interaction between your computer's KVM interface and the virtual machine.
These vary depending on your host OS, and do not appear if they have already been suppressed for future start-ups. The examples below are taken from a Windows PC.
If the following (or similar) messages appear, then enable the option to suppress the message on future start-ups and click X to close.
3. At the following dialog box, click Do not show this message again (to suppress the message on future start-ups) and select Switch (to view the virtual machine in Seamless mode).
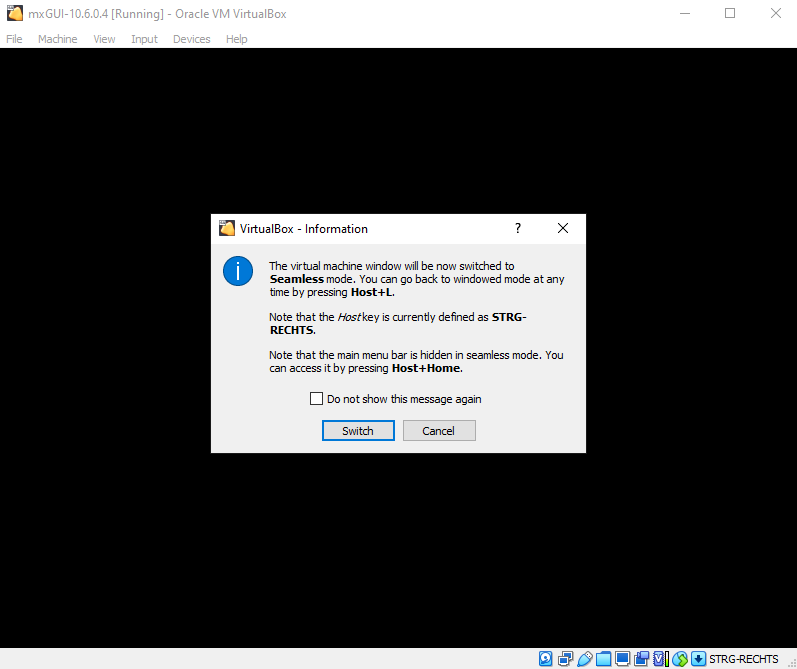
The view can be changed later (as described below).
4. Once mxGUI has finished booting, you will see the 'Product Selection' window.
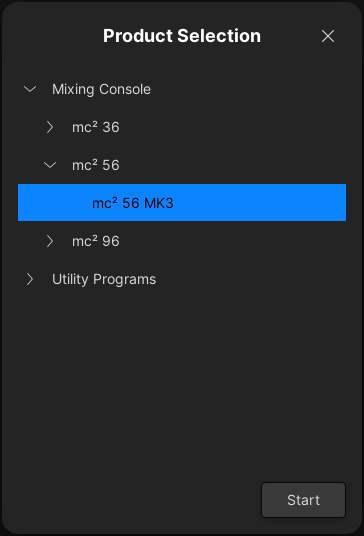
From here you can launch any of the mixing console emulations or a utility program. In each case, click on the arrows to view all available options. If you cannot see all of the options above, then they may have been edited (as described here).
Please note: it is important to choose the correct mixing console emulation (so that mxGUI shows the correct features and displays).
| Product Selection | Can be used for... | |
|---|---|---|
Mixing Console → | ||
mc2 36 → mc2 36 MK2 → 16 Faders | mc2 36 MKII console: 16C | |
mc2 36 → mc2 36 MK2 → 32 Faders | mc2 36 MKII console: 16 (single faders) + 16C | |
mc2 36 → mc2 36 MK2 → 48 Faders | mc2 36 MKII console: 16 (dual faders) + 16C | |
mc2 36 → mc2 36 MK2 xp → 16, 32 or 48 Faders | as above, but for the mc2 36 xp. | |
| mc2 56 → mc2 56 MK3 | mc2 56 MKIII console: all frame variants. | |
| mc2 96 → mc2 96 | mc2 96 console with standard centre section. | |
| mc2 96 → mc2 96 Xtra | mc2 96 console with extra faders centre section. | |
| Utility Programs → | ||
| mxUpdater | System software updates, user data backup and restore. | |
| Image Creator | Image backups for system and user data recovery. | |
4. Make a selection (e.g. mc256 MK3) and click Start.
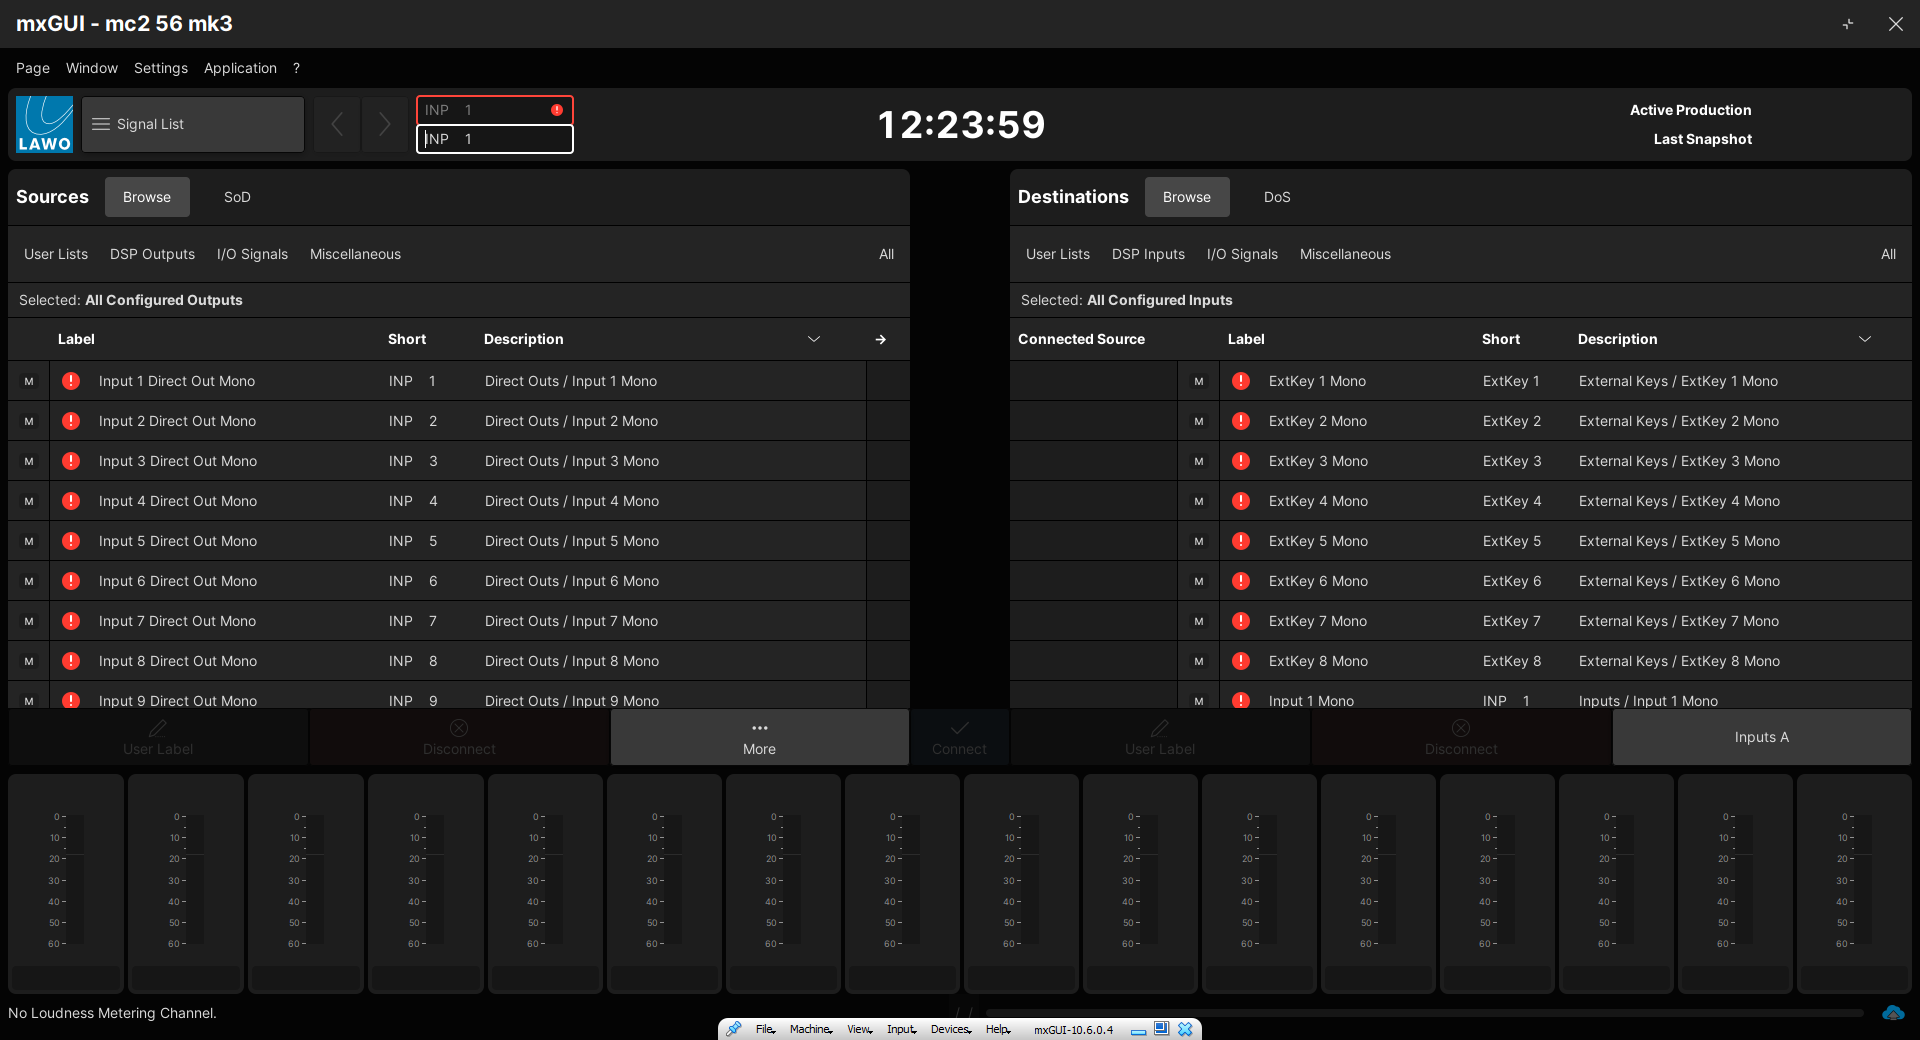
The mxGUI operating window opens and the software loads its warm start data (i.e. the settings saved at the last shutdown). The software is ready to use once you see the Signal List display. An example is shown below.
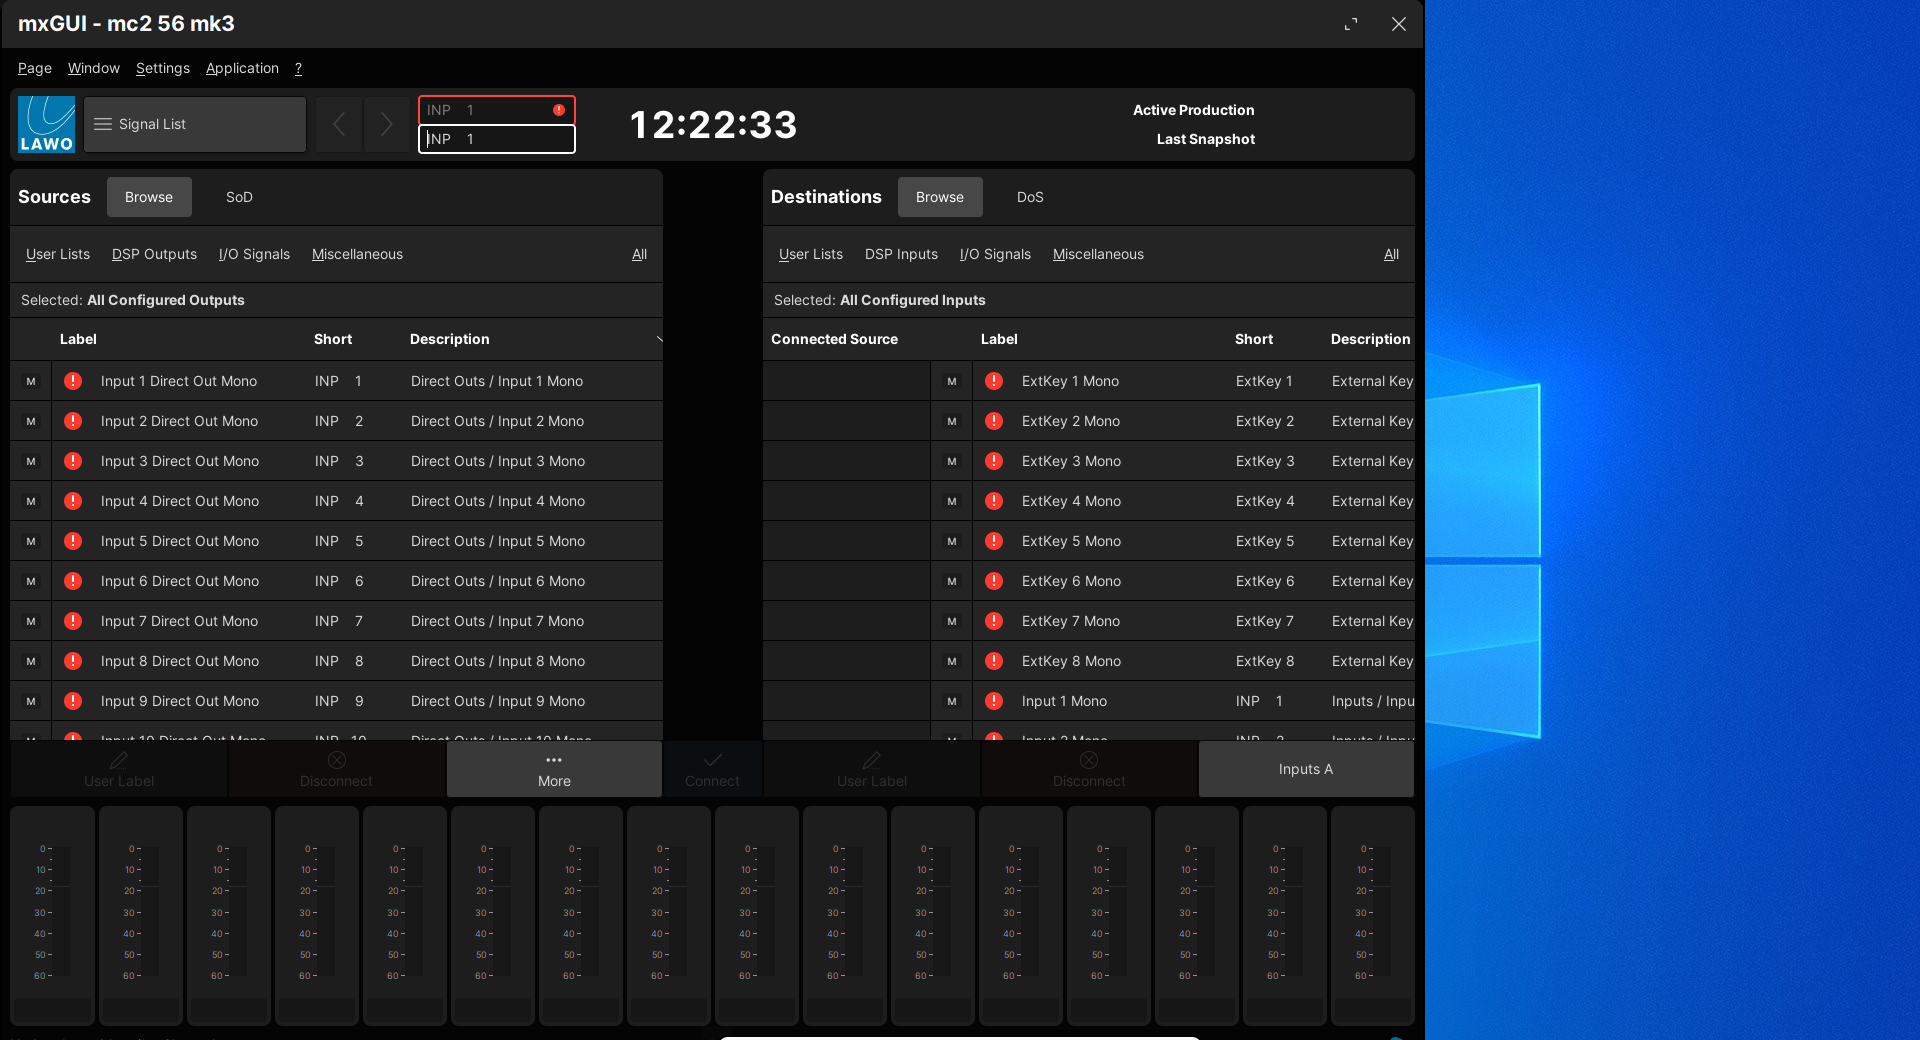
5. Before moving on, it is recommended to adjust the size of the operating window.
Select the Maximize icon (at the top right of the display) to fit the mxGUI operating window to the virtual machine view.

In Seamless mode, there is usually nothing further to do.
Changing the View
In VirtualBox, there are four possible viewing modes: Fullscreen, Seamless, Scaled or normal.
Either Fullscreen or Seamless view are recommended as they scale the mxGUI operating window to fit your display. Fullscreen uses the full screen available; Seamless view allows mxGUI to fit alongside other applications.
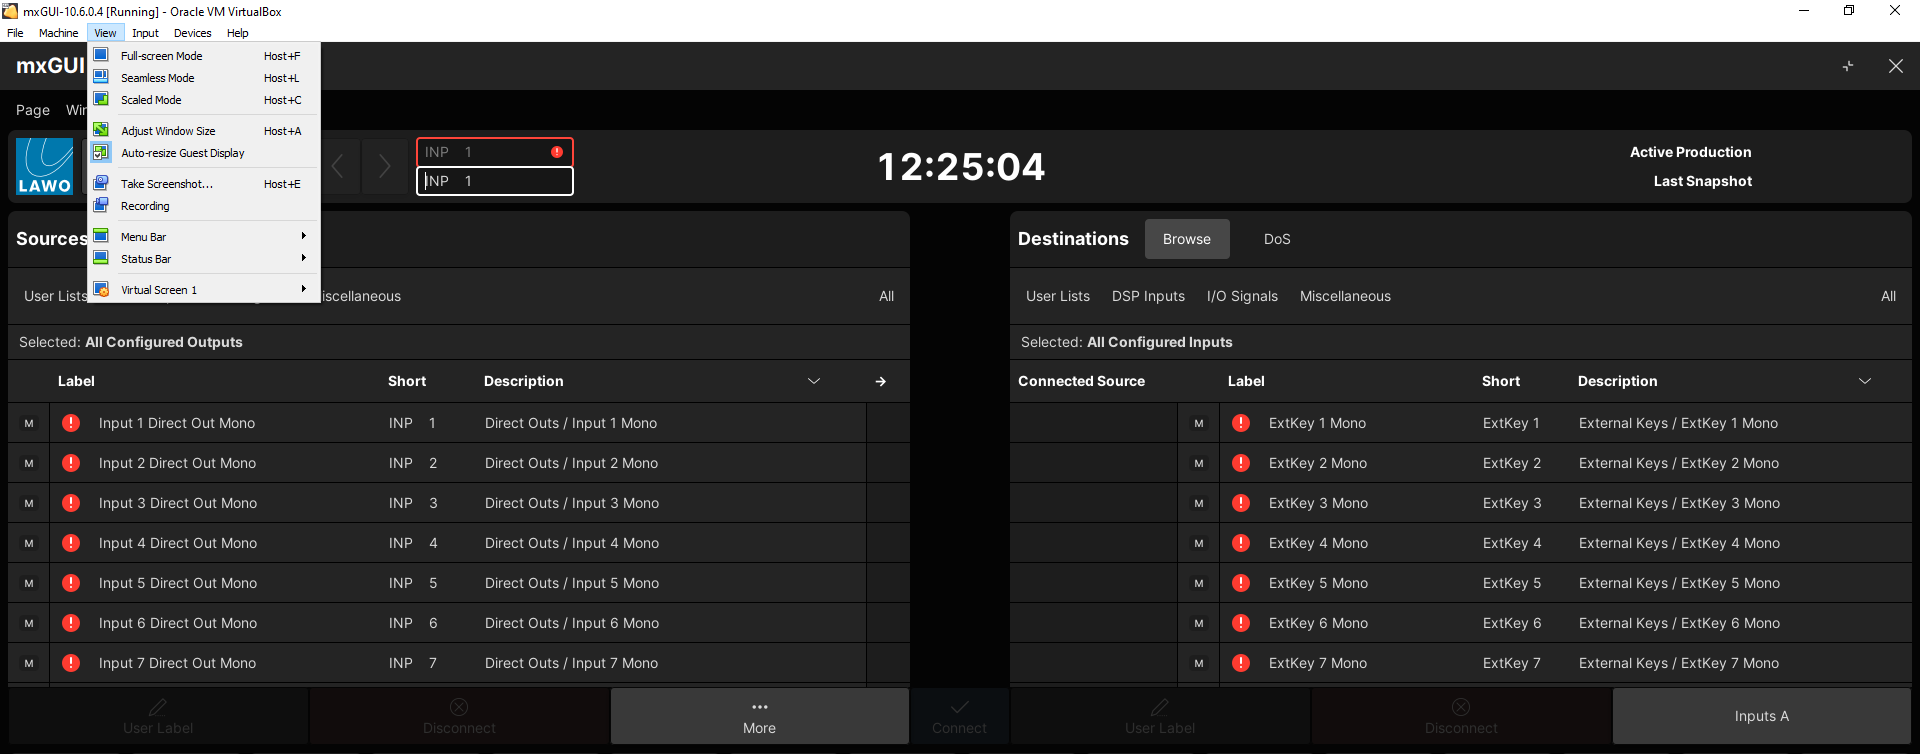
To change the view, press the correct keyboard shortcut (e.g. Host + L) to go back to normal mode (as shown below) and select an option from the View menu.
Troubleshooting
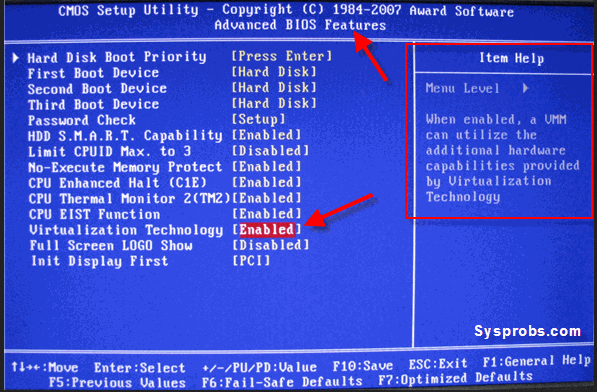
In order for mxGUI to start correctly on a host PC, virtualization must be activated in the BIOS system. Follow the instructions below to enable this option.
1. Consult your PC's documentation for details on how to enter the BIOS setup.
2. Look for the Virtualization option and set it to Enabled.
The screenshots below show two example systems.
|
|

3. Remember to save any changes and then exit the BIOS.
4. Restart the PC and then start mxGUI.
When using mxGUI on mac OS-based systems with a retina display, it is necessary to adjust the resolution used by the macOS to run VirtualBox. Follow the instructions below to adjust the resolution.
1. Go to Applications, right-click VirtualBox and select Show Package Contents.
2. Select Contents → Resources → VirtualBoxVM and press COMMAND + I (on the keyboard).
3. Enable the option Open in Low Resolution.
The screenshot below shows an example system.

Closing mxGUI
1. To close the current emulation, select Application → Quit (from the main menus), or click on the close icon (at the top right of the display).

The emulation closes and the software returns to the 'Product Selection' window. If you are running offline, then the latest settings are saved to the local control system (on your computer).
2. From here click on the close icon (top right) to close the software and the virtual machine.
This takes a few seconds, during which time, the progress is shown on-screen.
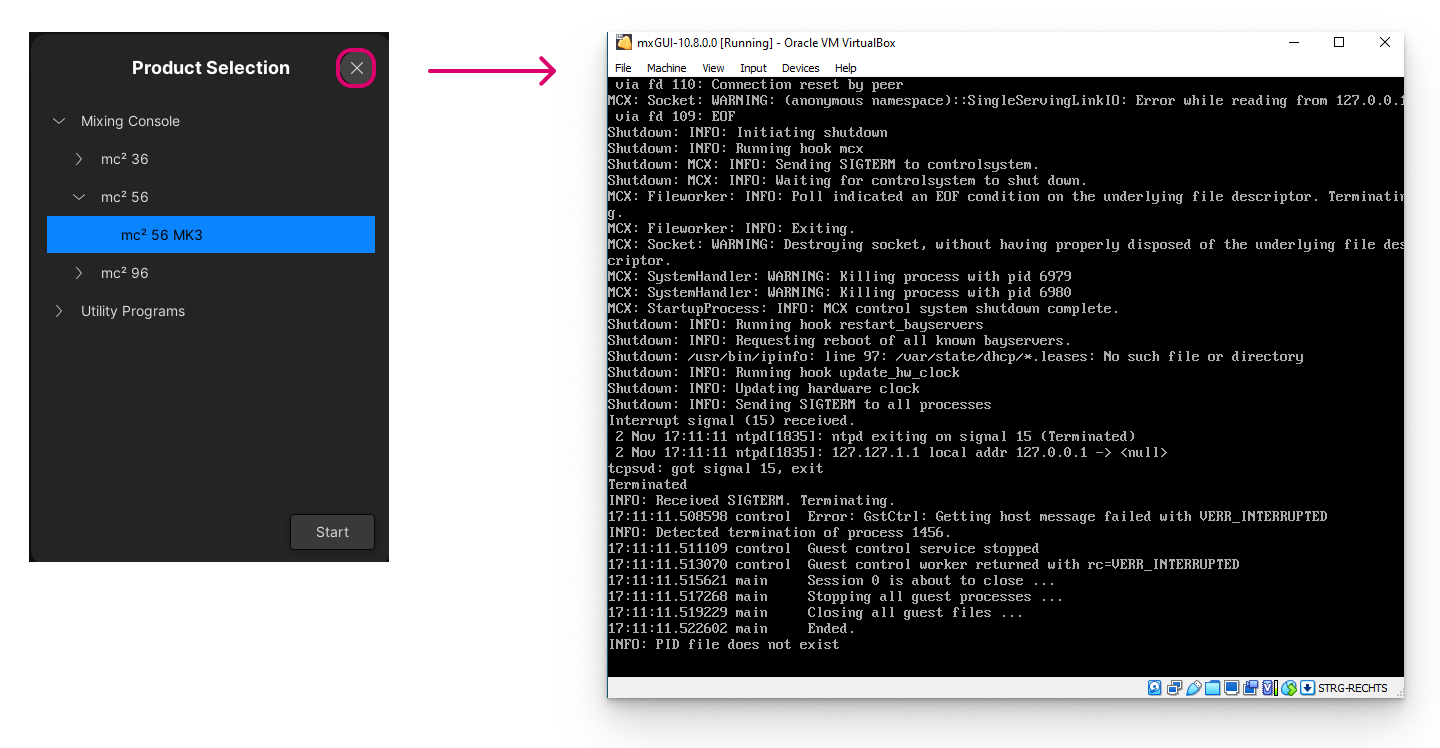
3. When the virtual machine window closes, the shutdown is complete.