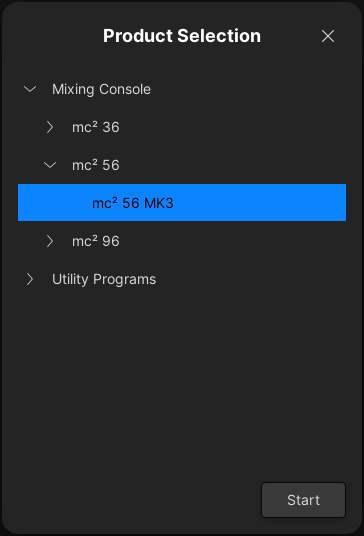
When mxGUI first starts up, the 'Product Selection' window appears. To simplify the operation, some of the options can be hidden from view. For example, to show only console emulations of a certain type.
Product Options (default) | 
Product Options (simplified) |
Editing the Product Options
The current options are read from the "product_options.tcl" file when mxGUI starts up. By default, all options are included after a standard install. To make a change, you will need to edit and save the file, and then restart mxGUI.
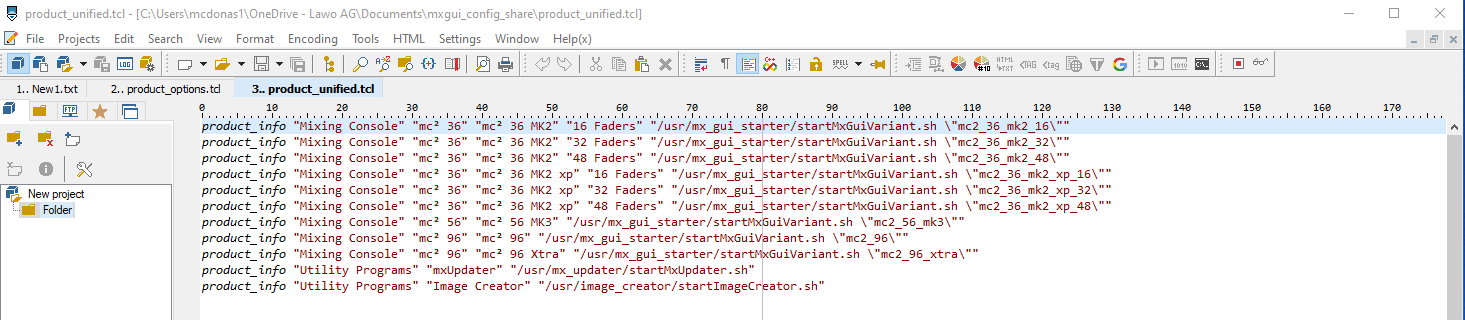
To edit the file, you can use any suitable tcl file editor. The correct syntax for each product can be found in the "product_unified.tcl" file.
Note that the supported options vary depending on the mxGUI release. The screenshots below are taken from the V10.6.0.x release. Other mxGUI versions can be edited in a similar manner.
1. Start by opening the "product_options.tcl" file in your tcl file editor.
The screenshot below shows the default file location.
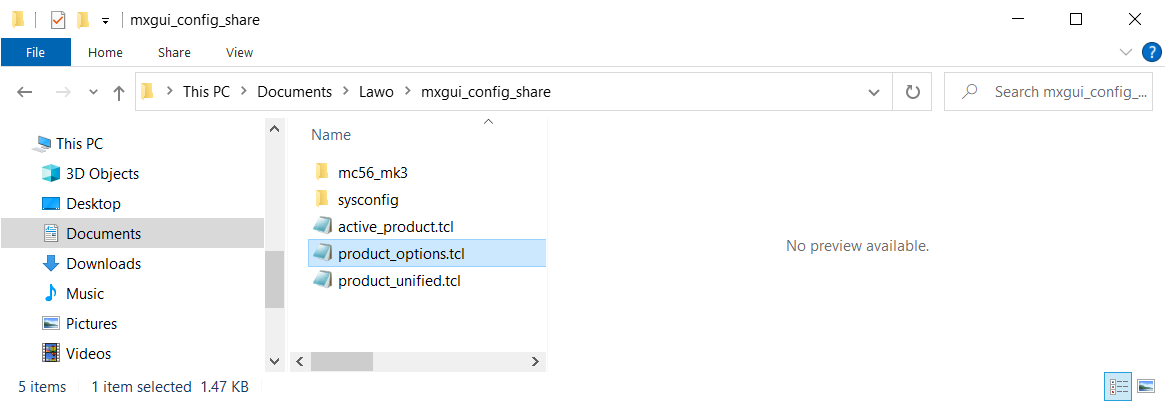
If you have created a different mxgui_config_share file path (for a new mxGUI release), then it will be necessary to edit the new file or copy across the file from the previous release).
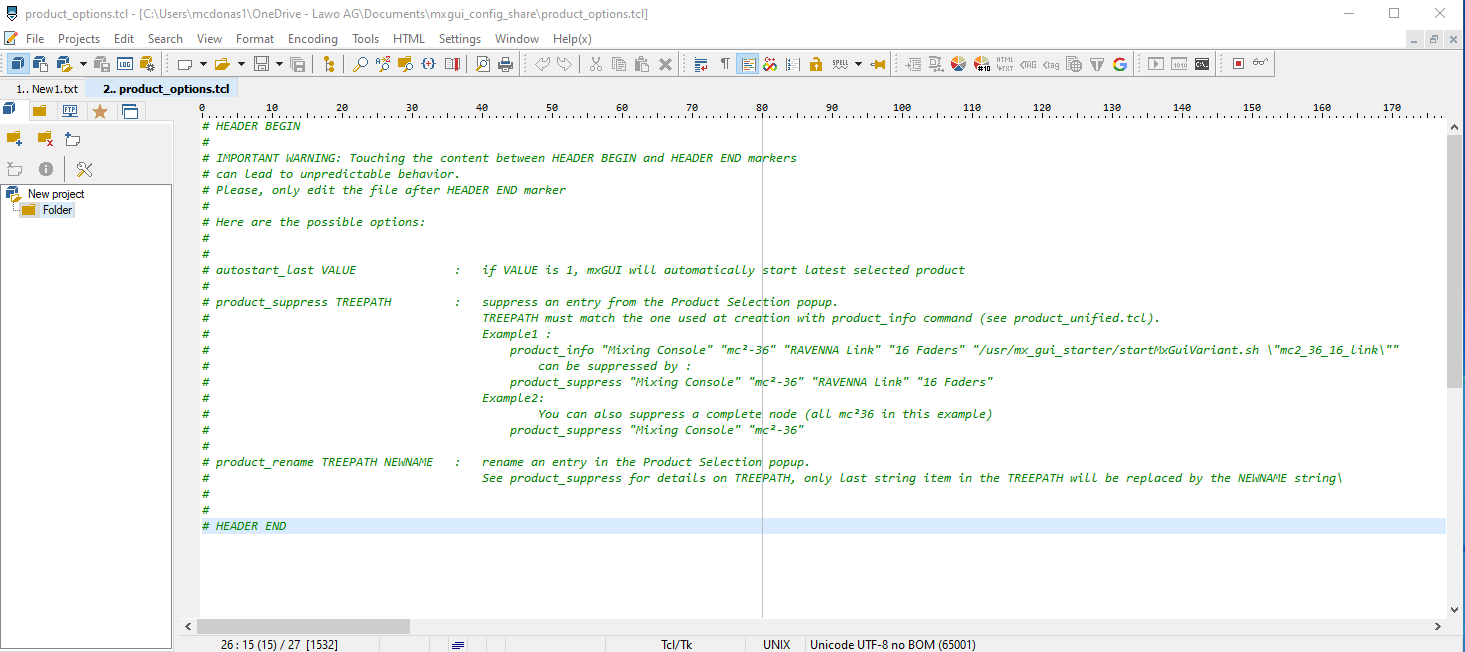
The screenshot below shows the default contents of the "product_options.tcl" file (after a standard install). In this instance, nothing is suppressed and so all options will be visible in the 'Product Selection' window.
2. Edit the file as shown below. For example, to suppress the mc2 36, mc2 96 and utility programs.
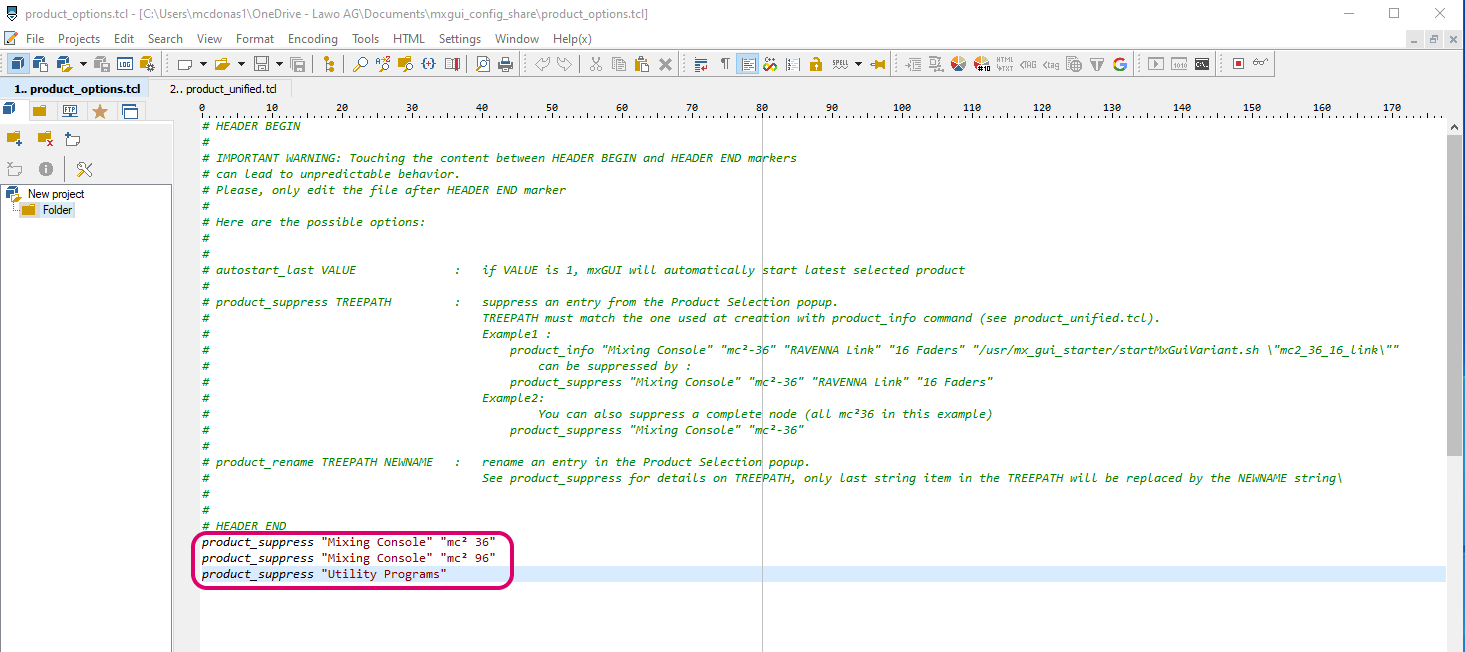
Make sure that you add the live entries after the # HEADER END. You can suppress individual entries or a complete branch of the menu (as in the example above).
The correct syntax can be copied from the "product_unified.tcl" file:
3. Now save the "product_options.tcl" file.
4. Then close mxGUI and the virtual machine (as described here).
When you next start mxGUI, the changes to the product options are applied.