mc²96 - Write Automation, First Steps
Having prepared the console, you are now ready to write your first pass.
1. Rewind your playback machine to the start of the mix.
2. Check that Fill End is selected as the 'Stepout Mode' (on the VAP 1 side panel).
Fill End is a great step out mode for writing early passes where you are working through the song or production chronologically. Each time you stop and finish a pass, any values in write are written through to the end of the mix. This means that you don't have to play through the whole song just to write a fader level to the end of the mix. See Step Out Modes for more details.
3. Press the AUTO button, located on the SCREEN CONTROL panel, to view the Mixes display.
The Active Mix is shown at the top of the display - in our example, mix0006: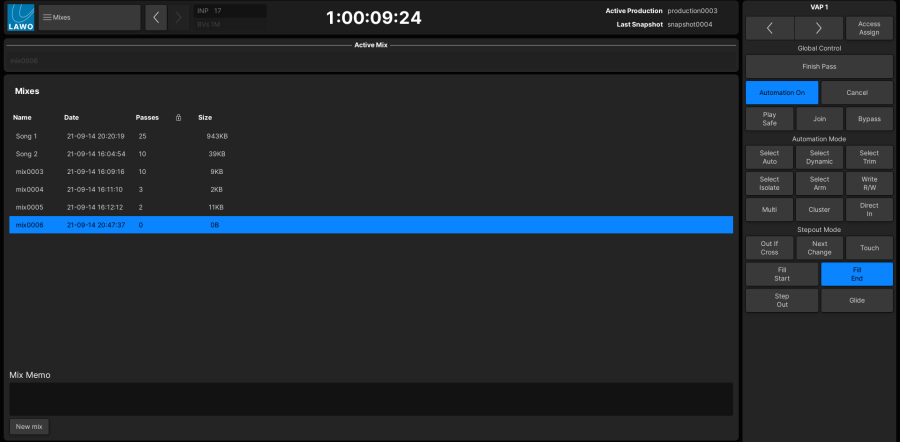
4. Press the AUTO button again to page to the Pass Tree display.
The Pass tree should be empty as we have not yet written any data: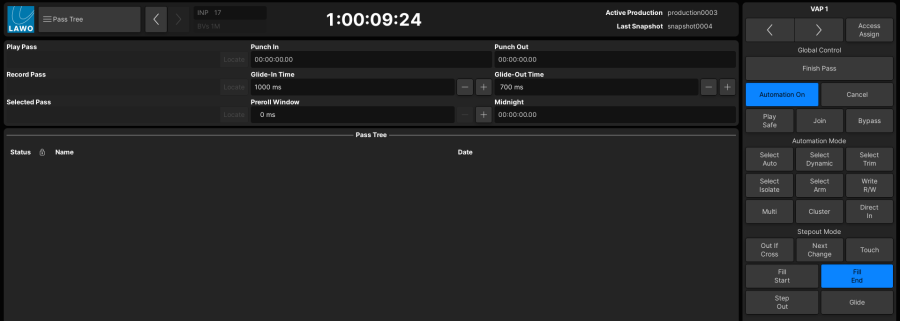
5. Now press play and write some dynamic fader moves as the timecode rolls forwards.
As soon as you touch a fader, its R/W button changes from green to red to indicate that you are writing new data.
You will see that a Record pass is created. As this is the first pass, it is named pass0000: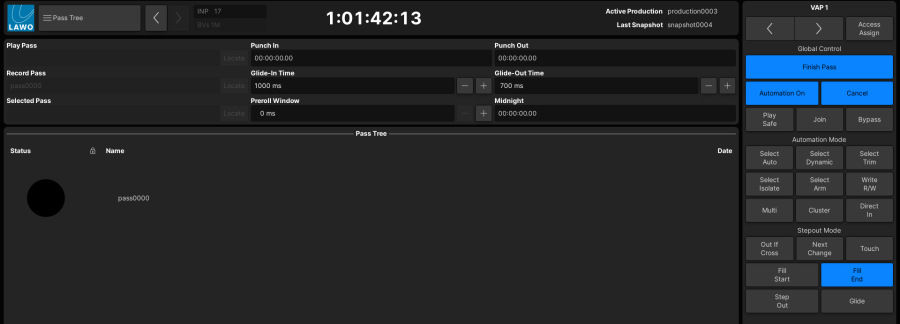
You cannot create a new Record pass if the mix is protected. |
6. When you are ready, finish the pass in one of two ways:
- Press rewind or locate backwards; the change of timecode direction causes the pass to finish automatically.
- Press Finish Pass to finish the pass manually:
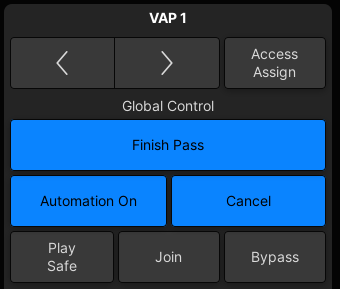
The automation data is recorded in pass0000 which moves to the Play pass box in the Passes display: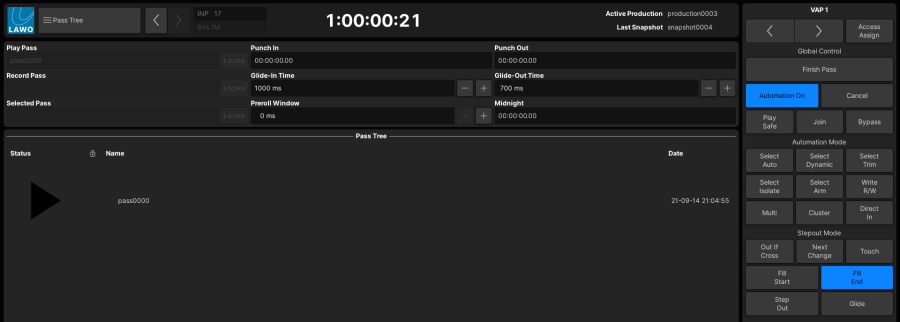
In addition, all fader R/W buttons return to green indicating that they are back in read mode.
7. Locate back to the beginning of the mix and press play.
Watch your recorded moves play back against timecode!
A normal automation day starts at 00:00:00:00 and ends at 23:59:59:xx, meaning that the maximum mix pass length is 24 hours! |
If your audio starts or crosses 00:00:00:00, then you should offset the timecode from the playback device to avoid the 23:59:59:xx/00:00:00:00 change of day. |
Updating a Pass
To update the moves in pass0000:
1. Press play and touch the faders you want to update.
The fader R/W buttons turn red to show that they are back in write.
The R/W buttons on untouched faders remain green and play back the moves from pass0000.
On the faders in write, you will also see one of the following indicators light (in white):
- ABV = the level stored in the play pass is above the current fader level.
- BLW = the level stored in the play pass is below the current fader level.
This shows you which way to move the fader if you wish to match the levels before stepping out of write.
Having written some moves, a new Record pass – pass0001 – is created: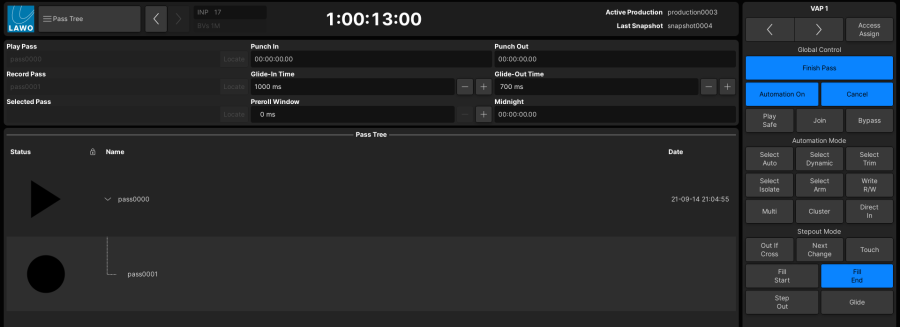
2. Finish the pass, either by pressing Finish Pass or locating backwards.
Pass0001 now becomes the current Play pass ready for further updates: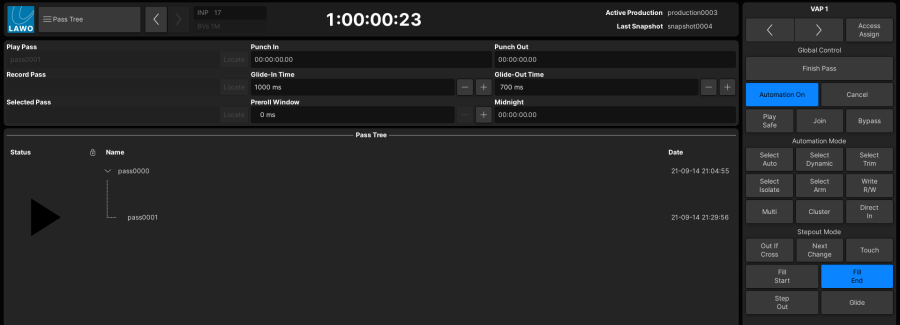
If Fill End is still selected as the 'Stepout mode', any levels in write when you finish the pass are written to the end of the mix. For alternatives, see Step Out Automation Modes.
3. Continue updating the mix.
Each time you update the current Play Pass, a new Record Pass is created with a new unique reference number – pass0002, pass0003, etc.
The passes are kept within the Pass Tree showing the history of each update.
To avoid mixes become too large, a maximum of 10 passes are stored within each branch of the Pass tree; after the tenth pass, the first pass is deleted to make space for new data, and so on. To keep a specific pass indefinitely you should protect it; it will then be retained as one of the 10 passes with the branch. |
Cancelling a Pass
1. If you start a new Record Pass and make a mistake, press Cancel to throw away the data before finishing the pass:
The next time you begin a Record Pass, it takes the next unique pass number. For example, if you cancel pass0001, then the next Record Pass is named pass0002.
Reverting to an Earlier Pass
If you make a mistake and finish the pass, then you can go back to an earlier Play pass using the Pass tree:
1. Select the pass to revert to, for example pass0002.
The name of the pass is shown in the Selected Pass box.
2. Press the PLAY soft key, or right-click and select Play from the drop-down menu options.
Pass0002 becomes the current Play Pass and the console settings update to reflect the new replay data.
3. Now go into play and write some fader updates.
4. Finish the pass, either by pressing Finish Pass or locating backwards.
The newly created pass takes the next unique pass reference number, in our example pass0007, and appears as a new branch in the Pass tree: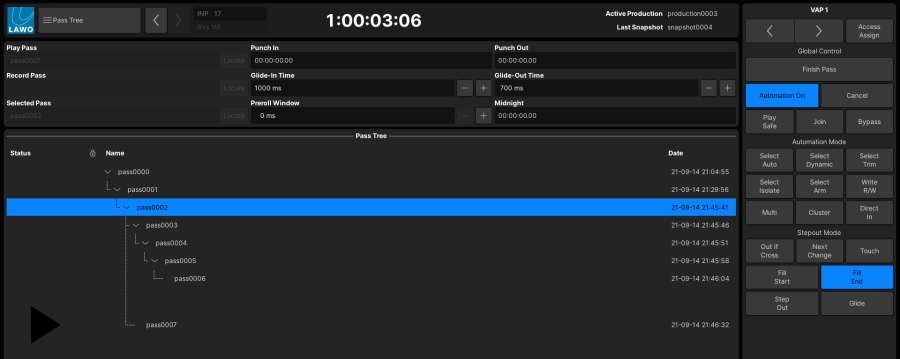
The Pass tree provides a history for every pass created within the active mix. You can use the Pass tree to A/B between different mixes or to write different versions of automation for a chorus or scene. Passes can be loaded, renamed, deleted and edited.
For more details, see the Pass Tree display.