mc²96 - Automation, Introduction
The system can automate console settings referenced to timecode.
Any channel type can be automated (inputs, groups, sums, auxes, VCA masters, surround VCA masters and GPCs). And automation can be enabled for any audio module (fader, mute, aux sends, EQ, bus routing, channel signal flow, etc.)
Automation data can be written with timecode rolling forwards, backwards and at any speed, providing fast and efficient mixing. The way in which data is written is governed by a number of modes, allowing you to write dynamic or static automation; step in or step out of write to make updates; trim existing moves; protect channels to prevent overwriting existing moves; and isolate channels to remove them from the automation system completely.
Each stream of automation data is recorded as a 'Pass', and multiple passes are stored within a 'Mix'. The 'Pass Tree' allows you to view the history and A/B between different passes within each mix. You can also edit mix passes in order to delete, copy, shift, insert or paste sections from different passes.
Multiple mixes can be created within each production; mixes are stored permanently on the system when you update or save a production.
Prerequisites
The system must be specified with the Recording Com Kit (958/80) to provide LTC or MTC connections to the external playback device.
Virtual Automation Panels
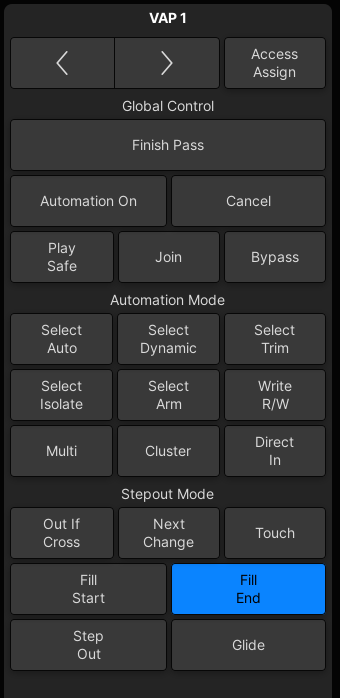
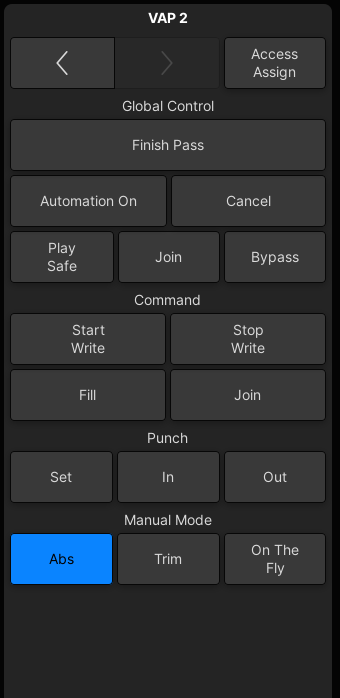
The automation system is controlled from two virtual automation panels: VAP 1 and VAP 2. These can be found on the Central GUI side panel (on the right) when the side panel is switched to Access Assign mode. Use the arrows (at the top of the side panel) to scroll to the relevant pages.
VAP 1 | VAP 2 |
Before You Mix
Let's assume that you have created a new production and have a basic setup with levels, panning, EQ, etc.
Before using the automation system, there are a few basic checks to perform:
1. Select the timecode reference for the automation system using the Timecode/Frame Rate options in the System Settings display.
Control of the playback machine can be programmed onto user buttons via the Custom Functions display. The available functions include transport control and machine locators. You can also switch one of your console displays to a remote desktop in order to view and control a DAW.
2. Change the Central GUI headline to display timecode rather than local time or loudness by clicking in the headline at the top of the title bar: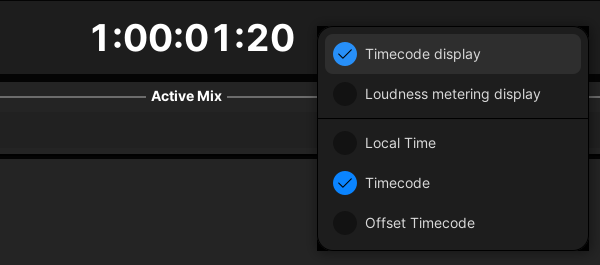
3. Press PLAY on your machine and check that the timecode follows.
You can choose Offset Timecode from the headline options, and set a timecode offset from the Pass Tree, if your mix starts at an odd timecode value.
4. If necessary, set a pre-roll tolerance for your playback machine.
This option is set by the Pre-roll window option in the Pass Tree.
5. Check the Mixes display and create a new mix to store automation (described next).
6. Turn on the automation and select the channels/modules you want to automate (described shortly).
If you wish, you can enable Solo-in-Place from the System Settings display. |
Checking the Active Mix
When you enable automation, data from the Active Mix is loaded to the console. Therefore, to make sure you don't lose your current settings, you should check the Mixes display.
1. Open the Mixes display on the Central GUI - the list shows all the mixes in the current memory: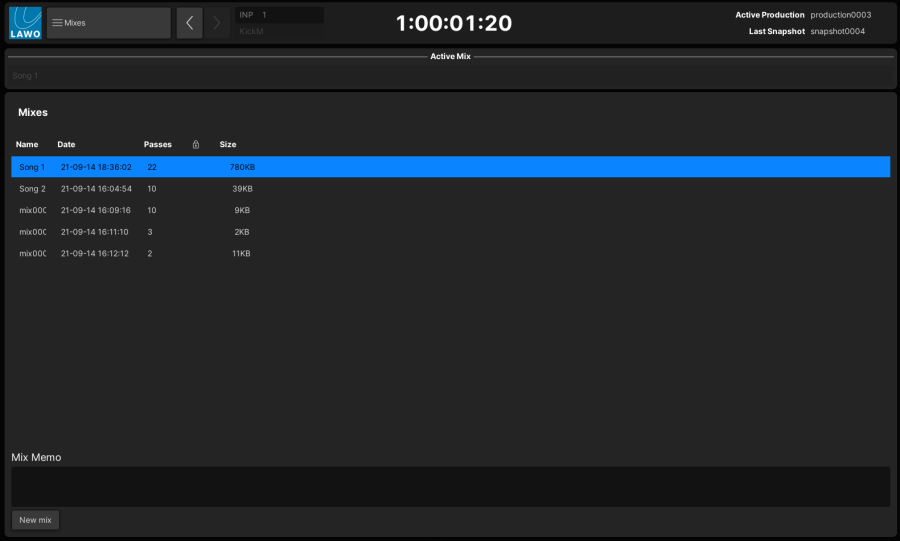
The name of the Active Mix is shown at the top of the display. It is the passes from this mix which appear in the Pass Tree, and its Play pass which loads when you enable automation.
The columns beside each mix name show the date and time stamp, the number of passes within the Pass Tree, whether the mix is protected (padlock icon) and the size of the mix. You can drag and drop columns to change their order.
At the bottom of the display, the Mix Memo box can be used to add notes to a particular mix.
The on-screen buttons and right-click options provide access to Load, New, Protect and Delete operations. These functions are also available on the SCREEN CONTROL panel soft keys.
- If the Active Mix box is empty, you can skip straight onto selecting the channels and modules you want to automate. The first time you enable the automation, a new mix and Record pass are created automatically.
- However, if an Active Mix already exists (loaded from the production), you should create a new mix before proceeding. Otherwise, when you press the AUTO ON button, the system will load the Play pass from the Active Mix, thereby resetting your existing settings.
Creating a New Mix
1. Press the NEW soft key, or on-screen New mix button, to create a new mix.
An empty mix appears at the bottom of the Mixes list and automatically becomes the Active Mix. It is given a default name (e.g. mix0006), and is date and time stamped: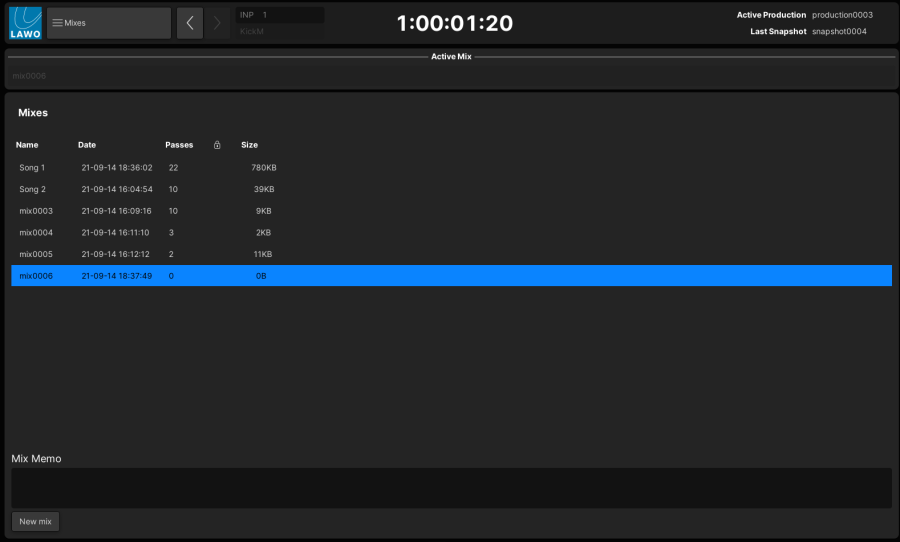
Turning On Automation
You can now turn on automation by enabling the Automation On button (on the VAP 1 side panel):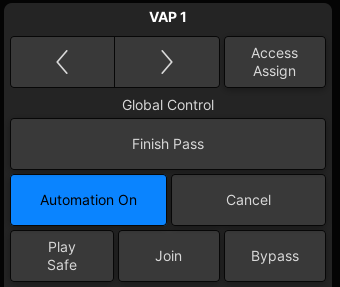
Selecting Channels/Modules for Automation
The Select Auto function selects which modules within each channel are enabled (or disabled) for automation.
The first time you enable a module for automation, it defaults to dynamic automation mode and is armed (ready to read and write automation) in absolute. |
1. Assign one of the channels you want to automate to the Central Control Section, either by pressing its fader SEL button or using the ACCESS/ASSIGN panel.
2. Press Select Auto (on the VAP 1 side panel) - the button flashes to show it is active: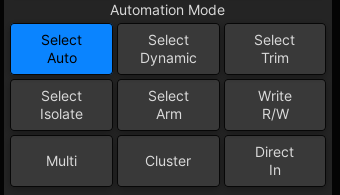
On the Central Control Section, the current status of each module is shown by the select buttons:
- SEL button lit (yellow) = automation enabled.
- SEL button off = automation disabled.

3. Press the Central Control Section SEL buttons to enable, or disable automation, for each audio module.
You can select any audio module(s), plus the channel signal flow (CH) and bus routing (BUS). See Selecting Channel Parameters.
For our example, toggle SEL ALL to deselect all channel parameters, and then press the SEL beside the fader control so that it lights. This enables fader automation on the channel in access.
4. Next press Multi (on the VAP 1 side panel) to apply this setting to more than one channel: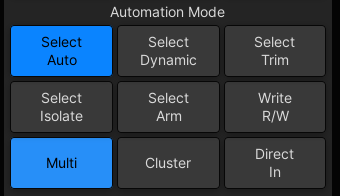
The fader SEL buttons across the console flash, in green.
5. Use the fader SELs to select the channels you wish to automate - the buttons turn red when selected:
You have now enabled automation for the fader modules on the selected channels.
This can be confirmed by checking the AUT indicator and fader R/W button on the fader strips:
- AUT lit (red) = at least one module on the channel is enabled for automation.
- R/W button lit (green) = fader is selected for automation and armed.
6. Turn off Select Auto, or press ESC on the SCREEN CONTROL panel, to exit the Select Auto mode.
To change what is automated at a later date:
- Repeat steps 1 to 3 to enable, or disable, automation on the channel in access.
- Repeat steps 4 and 5 to apply the new module selections to multiple channels - note that you will need to refresh the fader SEL buttons in step 5 (turn them off and back on) to update existing selections.
