mc²56 - Metering Locations
There are several places where signals can be metered:
- The Channel Display provides dedicated metering for every fader strip. The bargraphs can be set to peak metering, loudness metering or both (see mc²56 - Bargraph Types).
- The Main Faders display (on the Central GUI) provides the same functionality as the Channel Display but for channels assigned to the main fader strips.
- The two signal present indicators on the Channel Display and the meter in the fader strip label display always show the channel input level (after source gain). They can be used to check that signal is present before opening a fader.
- The Main Display (on the Central GUI) includes a meter which follows the same bargraph options as the Channel Display, and also meters signals at other points such as the insert send, direct out and dynamics.
- The four Metering pages (on the Central GUI) can be used to meter different sets of signals. Each page provides 24 assignable meters.
- Optionally, a RTW TM7 or TM9 may be fitted to the Overbridge. The meter is wired internally to the console's local I/O. By default, it follows the CRM 1 monitor source selector.
The rest of this topic describes the Main Faders display and the four Metering pages. For information about the other metering locations, please follow the links above.
The Main Faders display
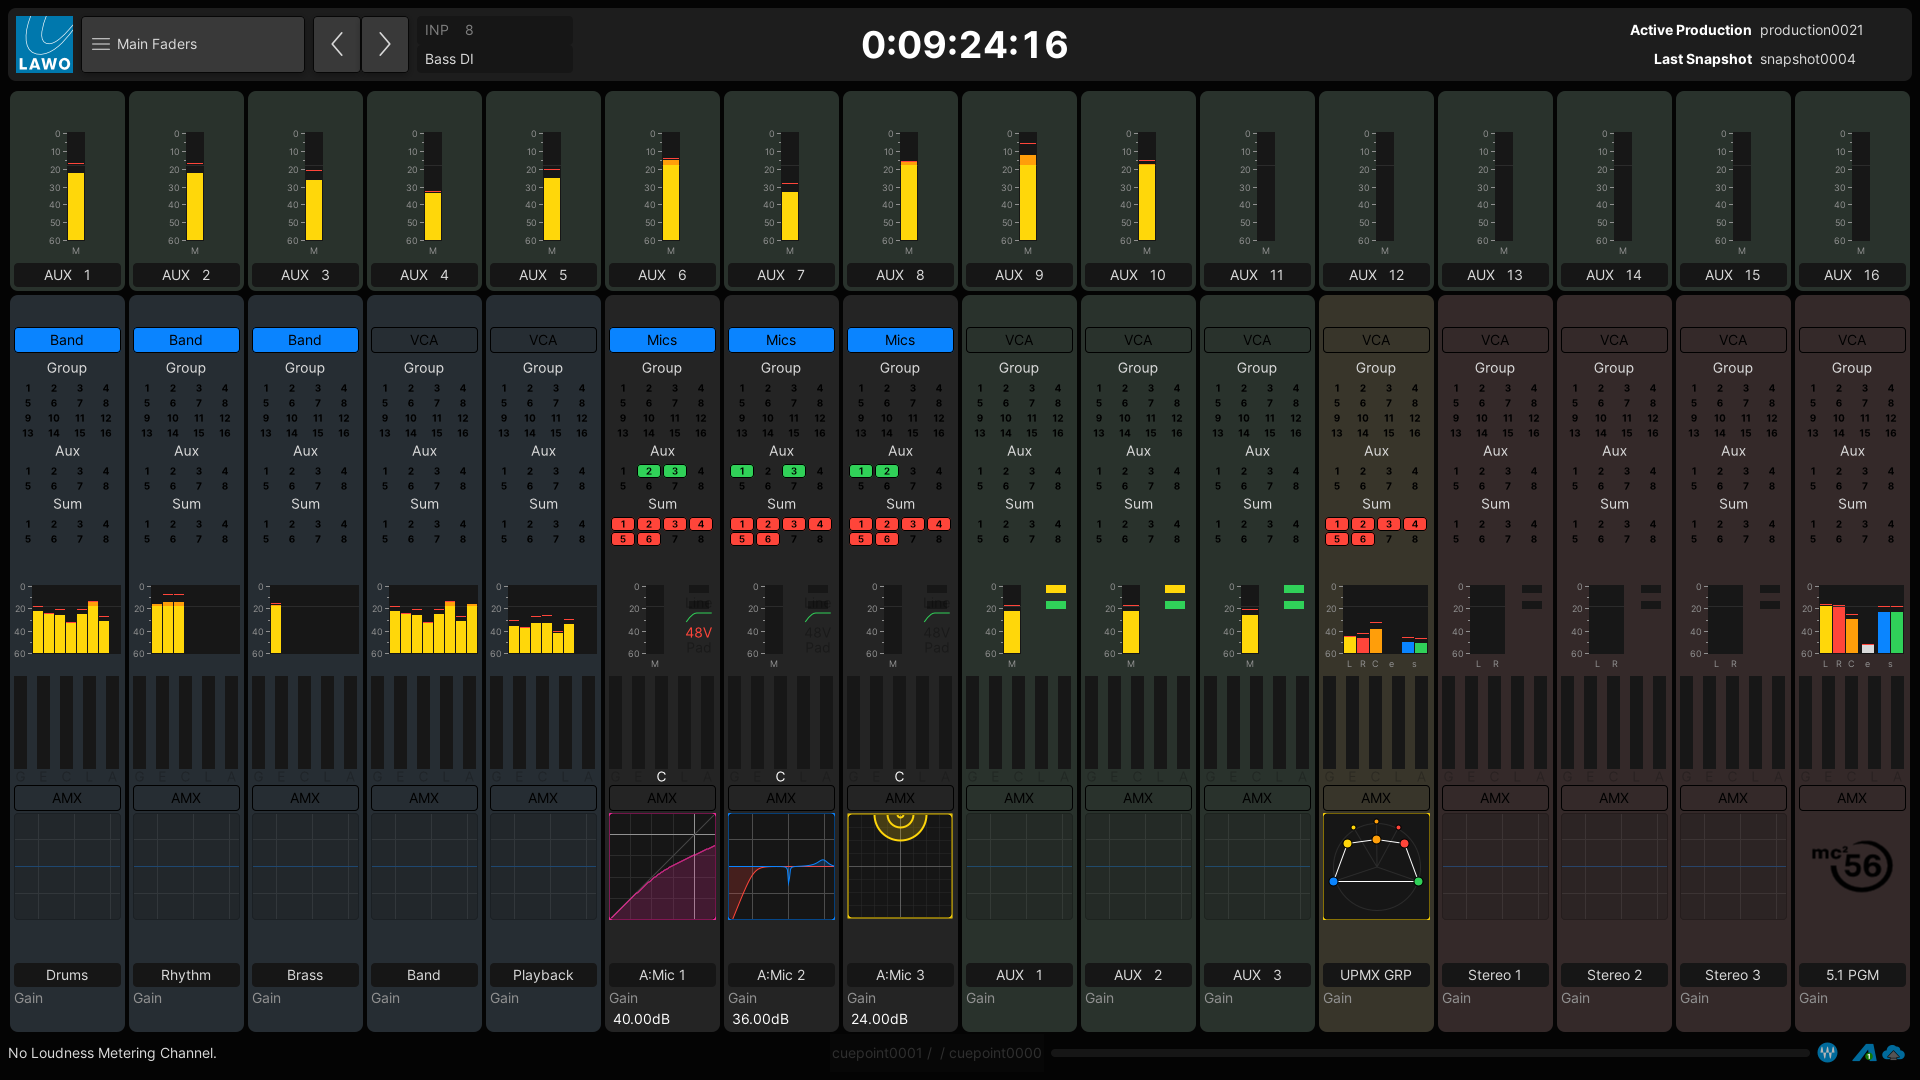
The Main Faders display provides "Channel Display" functionality for the channels assigned to the main fader strips.
It is opened on the Central GUI using one of the following methods:
- Press the METER button on the SCREEN CONTROL panel.
- Select Metering → Main Faders from the GUI page menu.
- Press CTRL + 4 on the console keyboard.
The functionality is identical to that of the Channel Display (described earlier).
In the example below, a second metering row is enabled, and the "GUI → Show Central Metering on all Pages" option (in the System Settings display) is disabled.

Main Faders display (with two metering rows)
The Metering (1 to 4) Pages
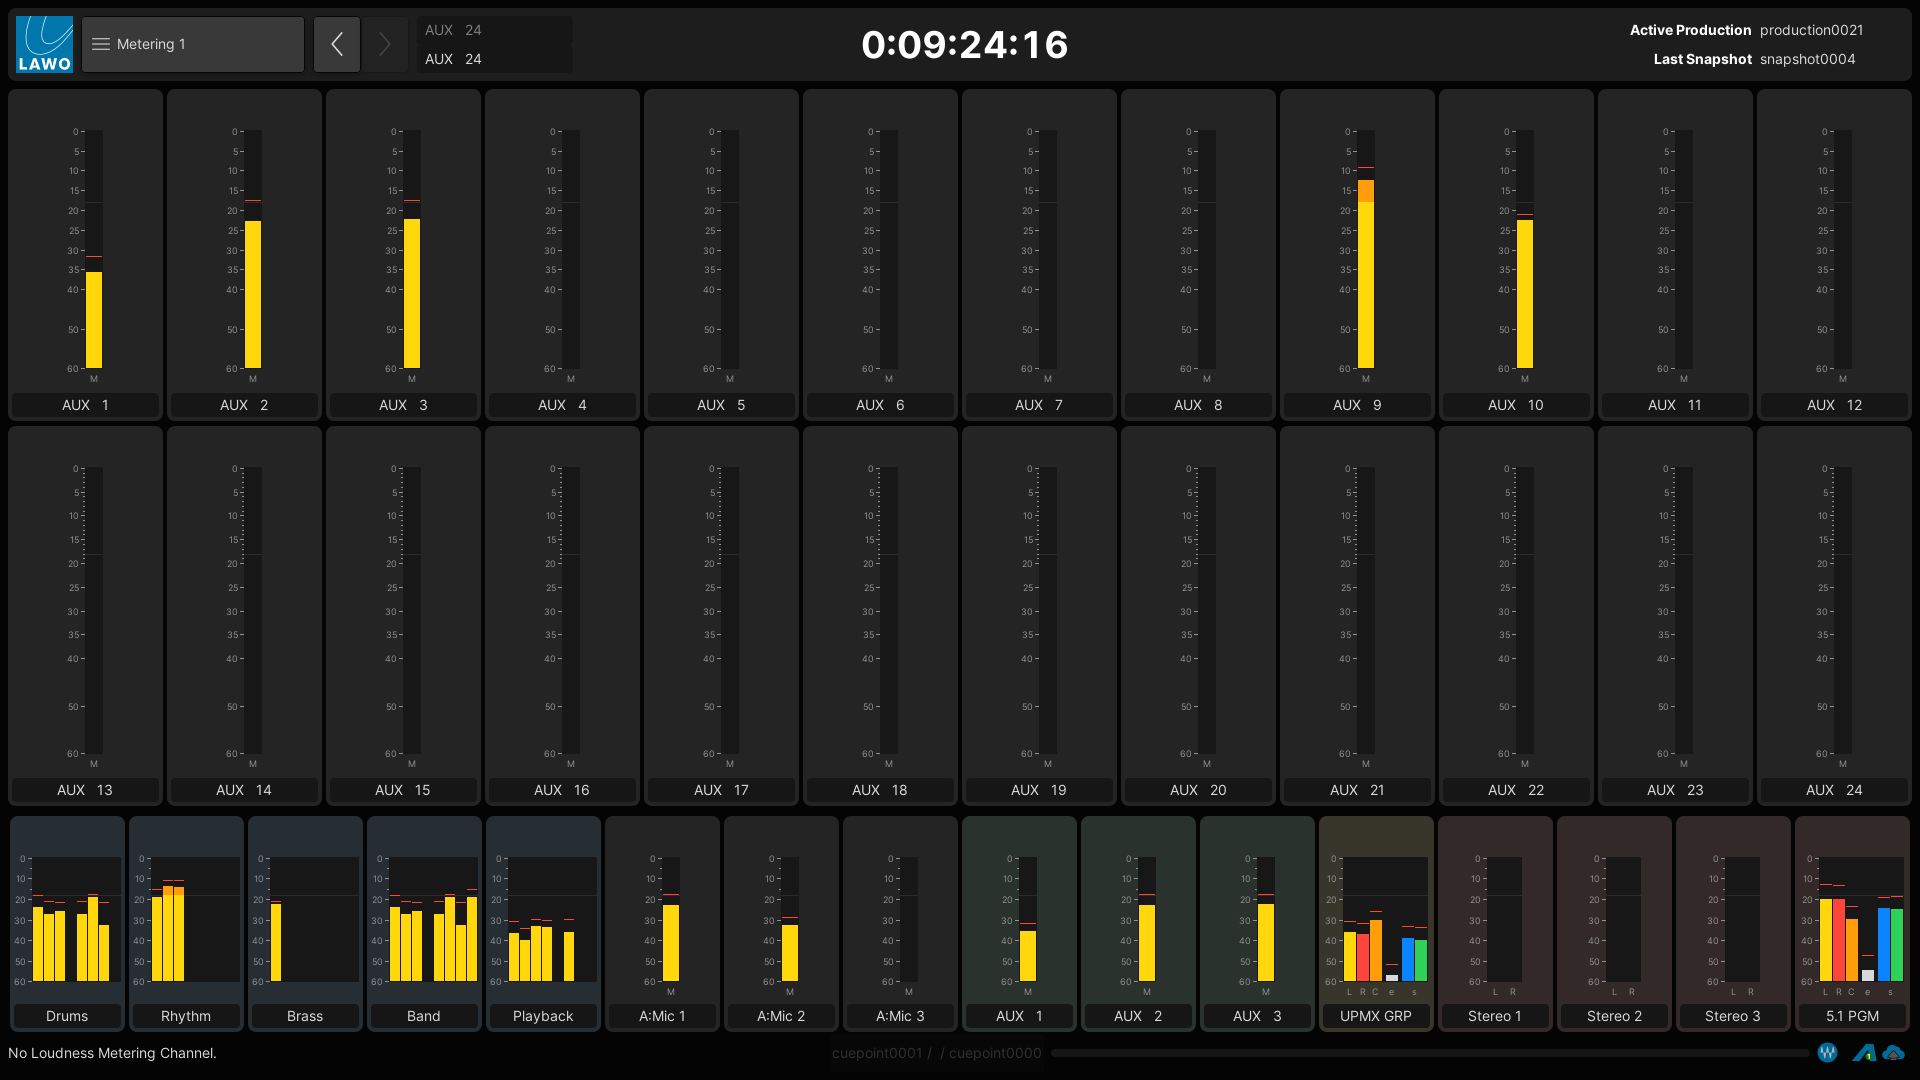
Each of the four Metering pages provide 24 assignable meters. These can be used to meter different sets of channels such as aux masters. Note that the Metering page assignments are saved within productions, but not in snapshots.
The pages are opened on the Central GUI using one of the following methods:
- Press the METER button on the SCREEN CONTROL panel.
- Select Metering → Metering # from the GUI page menu.
- Press CTRL + 4 on the console keyboard.
In the example below, the "GUI → Display Central Metering" option (in the System Settings display) is enabled. This allows you to keep metering the channels assigned to the main faders (at the bottom of the GUI).

Metering 1 (with Central Metering enabled)
The following operations are possible.
- The two rows of meters can be resized by touching and dragging on the dividing line between the upper and lower rows.
- Each meter can be assigned as follows:
- Select a channel - either by pressing its fader SEL button or using the Access/Assign panel.
- Then touch a meter and select Assign.
- The meter label updates to confirm the assignment. The mono/stereo/surround format updates automatically according to the assigned channel.
- To remove an existing assignment, touch the meter and select Clear.