This chapter covers the configuration of the Mx34 - Module.
First Steps
To open and close the module menu, left-click on the appropriate button in the main menu bar:

The Modules window appears - right-click inside the empty module view to create a new module:
 e
e
The Mx34 - Module
Using the module Mx34 in connection with the module Mx33 (see Mx33), the button assignment on the intercom level can be carried out. Buttons are then individually monitored, and functions, such as talk, listen, etc., are assigned.
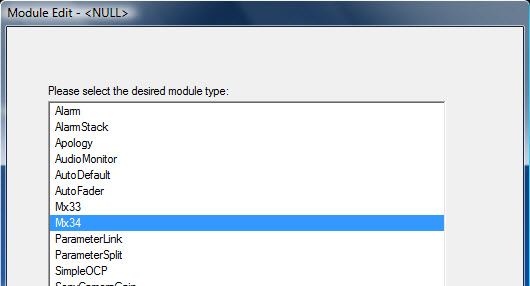
Mx34 module
The module Mx34 can be selected in the module overview. Just as for the module Mx33, a unique Prefix must be defined.
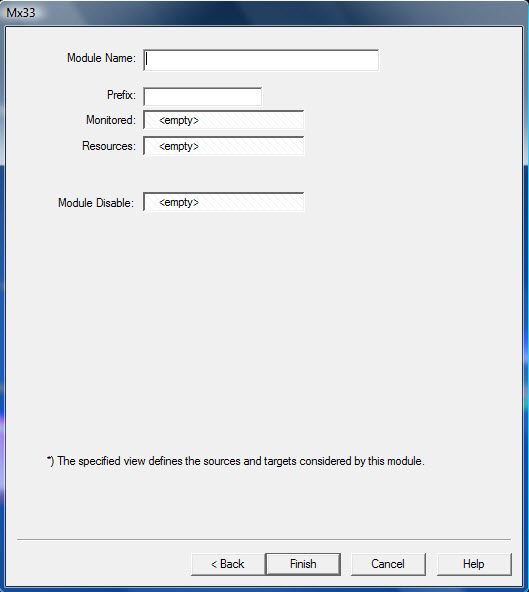
This module also requires a view (see Views) that is then placed into the field Monitored containing the tie-line outputs form an audio router (source) and the talk targets or listen targets from the intercom level.
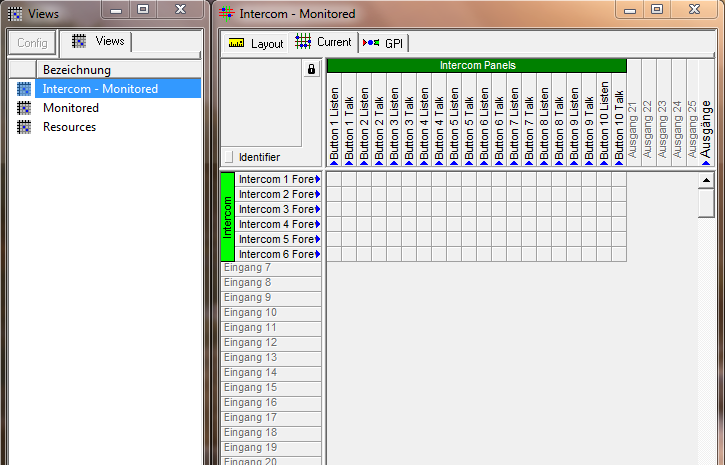
Intercom monitored view
Contrary to module Mx33, the view Resources is irrelevant for module Mx34. Button Listen have to be pre-defined in the meta gadgets (see Meta Gadgets) and labelled with the names from the prefix link and the corresponding target from the output switch. For example: The source connected to Target 1 in the initial switch is to be controlled via Button 1 on the intercom system. It must therefore be labelled Mx34-Link (Assignment Source 1 in Button 1 lists).
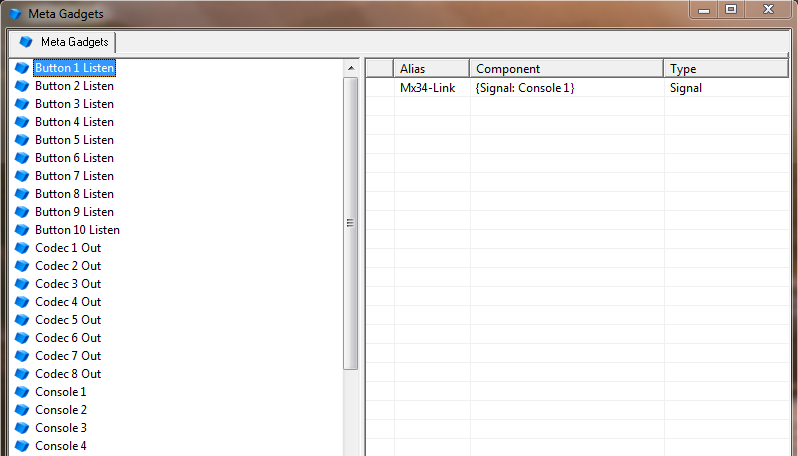
Button listen configuration in meta gadgets
In addition to the settings explained under Mx33 and Mx34, the following must be considered configured for the two modules Mx33 and Mx34:
- As usual, pseudo devices (see Pseudo Devices) have to be set for the RX and TX connections:
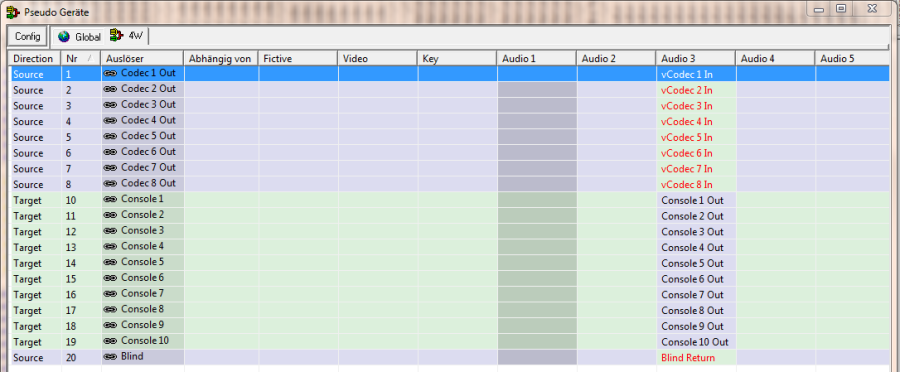
- Triggering targets must (for prioritization) be defined as 4-Wire in the signal path attributes (see Signal Path Attributes).
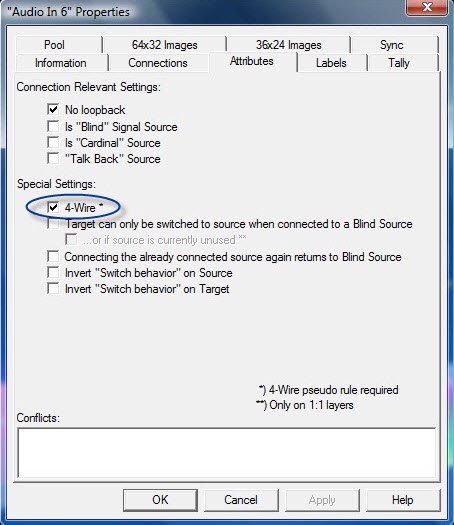
- For 4-Wire switches, the sources of the return path can be set to blind as well. To do so, use a (virtual) target that is defined as blind-source (see Signal Path Attributes).
- The first triggering starts the preset connection; the second triggering merely makes the function Talk available.