Hardware - Replacing broken E3 LCD keys using the E3 Replacement Kit
The E3 Replacement Kit
The E3 Pushbutton Replacement Kit contains
- 5 E3 RGB LCD pushbuttons,
- pushbutton removal tool,
- the instruction manual for save replacement of pushbuttons.
Please make sure you carefully read and understand the instruction manual before you start exchanging pushbuttons.
Compatible Hardware
The following list of panels shows panel types compatible with the E3 Pushbutton Replacement Kit:
- LBP8
- LBP16e
- LBP17
- LBP24
- LBP31e-DT
- LBP32-DT
- LBP32
- LBP33e
- LBP34
- LBP34V
- LBP39V
- LBP50e
- LBP51
- LBP51V
The following LBP panels are not compatible with the E3 Pushbutton Replacement Kit:
- LBP41e
- LBP42
- LBP83e
- LBP84
- PBP44 (EoL)
Keys on LBP Panels of Type LBP41e, LBP42, LBP83e, LBP84, PBP44 (EoL) are not replaceable in the field. Trying to remove them will damage the panel. In case of broken keys, please contact our support team through support@lawo.com
Preparation
Make sure the type of panel you want to replace pushbuttons is listed in the hardware compatibility list above.
- The LBP panel does not need to be turned off for replacing pushbuttons.
- The LBP panel does not need to be unmounted from a rack for replacing pushbuttons.
Exchanging a Key
Step 1
Pushbuttons are hosted on a circuit board. Each key has a socket, which is plugged into the circuit board. With the replacement, the pushbutton will be replaced by releasing the socket from the circuit board.

Step 2
Risk of injuries - Removal Tool may have sharp edges.


Use the removal tool and gently push its brackets into the gaps left and right from the defective LCD key.

Make sure you work carefully, as the brackets may have sharp edges. Edges can cause injuries and may scratch surfaces!
Step 3
Make sure the removal tool is inserted all the way, until you hear a soft "click". It may be needed to gently increase the pressure onto the removal tool.
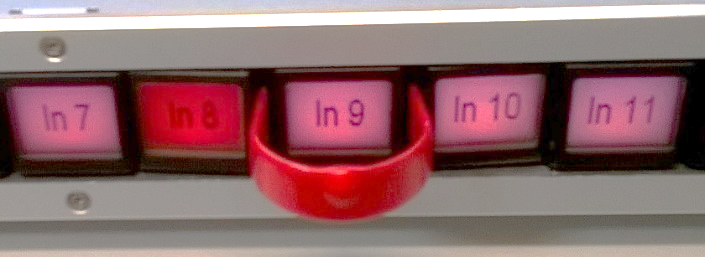
Step 4
Once the removal tool snapped into position, smoothly pull it out with one finger, so the button will drop as one single piece.
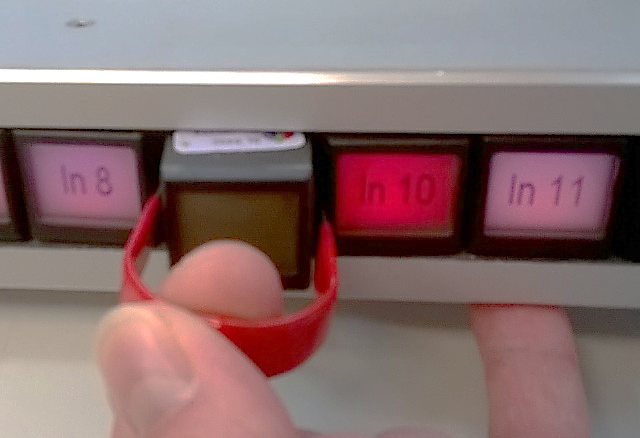
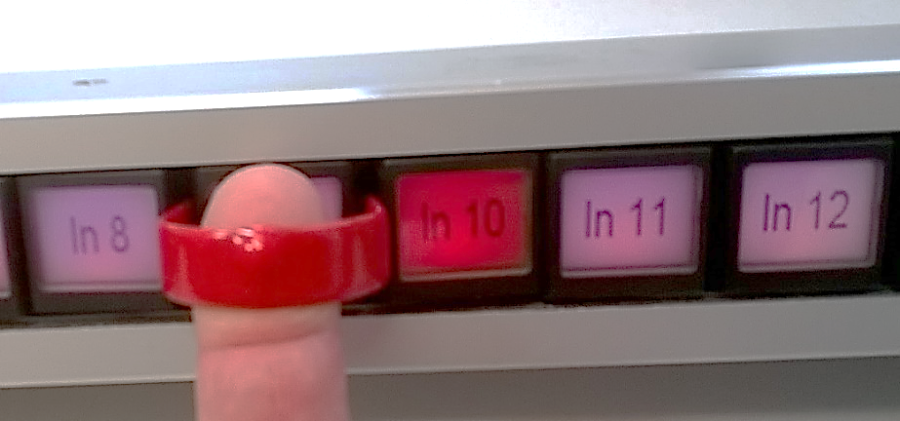

Step 5
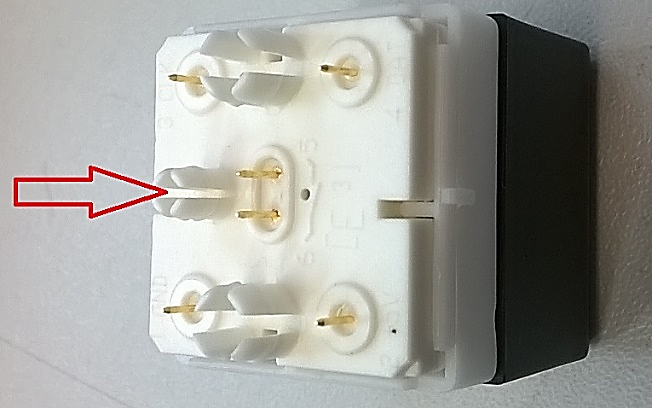
Before you insert the new button, check its rearside. Make sure all electrical pins are straight and not bended.
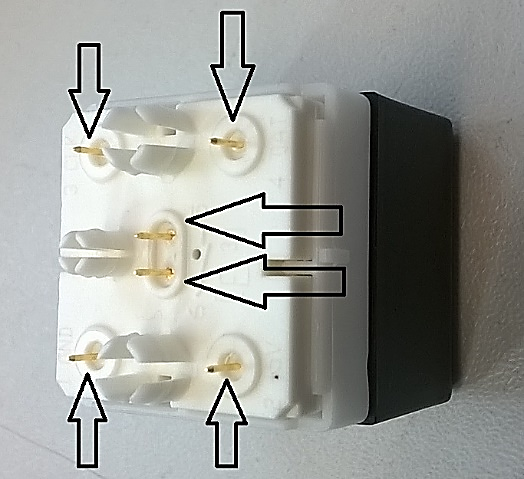
Step 6
Attention – Risk of damage - It is possible to damage the key when it is not positioned correctly prior to insertion.

Before smoothly inserting the new button, make sure you insert it at the right polarity. A plastic knob in the middle of the button on the rear will guide you and helps to make sure the button will not be inserted upside-down.
Step 7
After the insertion, it might take a few minutes until the new button comes up with the right backlight color and the correct text on the LCD. Please be aware that by pushing in the new button you will "set" the function that is configured to this specific button.
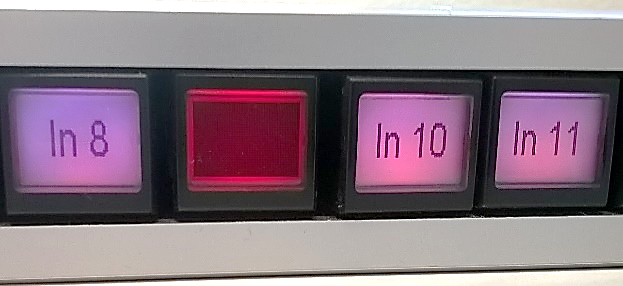
Do not exchange a button while being "on air" with this specific panel.
Step 8
After the exchanged button fully comes back up, press the buttons on the left and on the right of the exchanged button all the way in, for they might have become loose during the button-change-process.
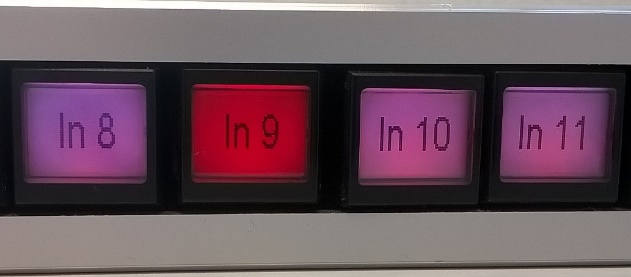
You have now successfully exchanged the button.
![]() Our contribution to save the environment
Our contribution to save the environment
Please collect all faulty buttons and send them back to Lawo AG, Rastatt. Lawo will be sure all buttons will be recycled accordingly.