crystal VX - Timer Operation
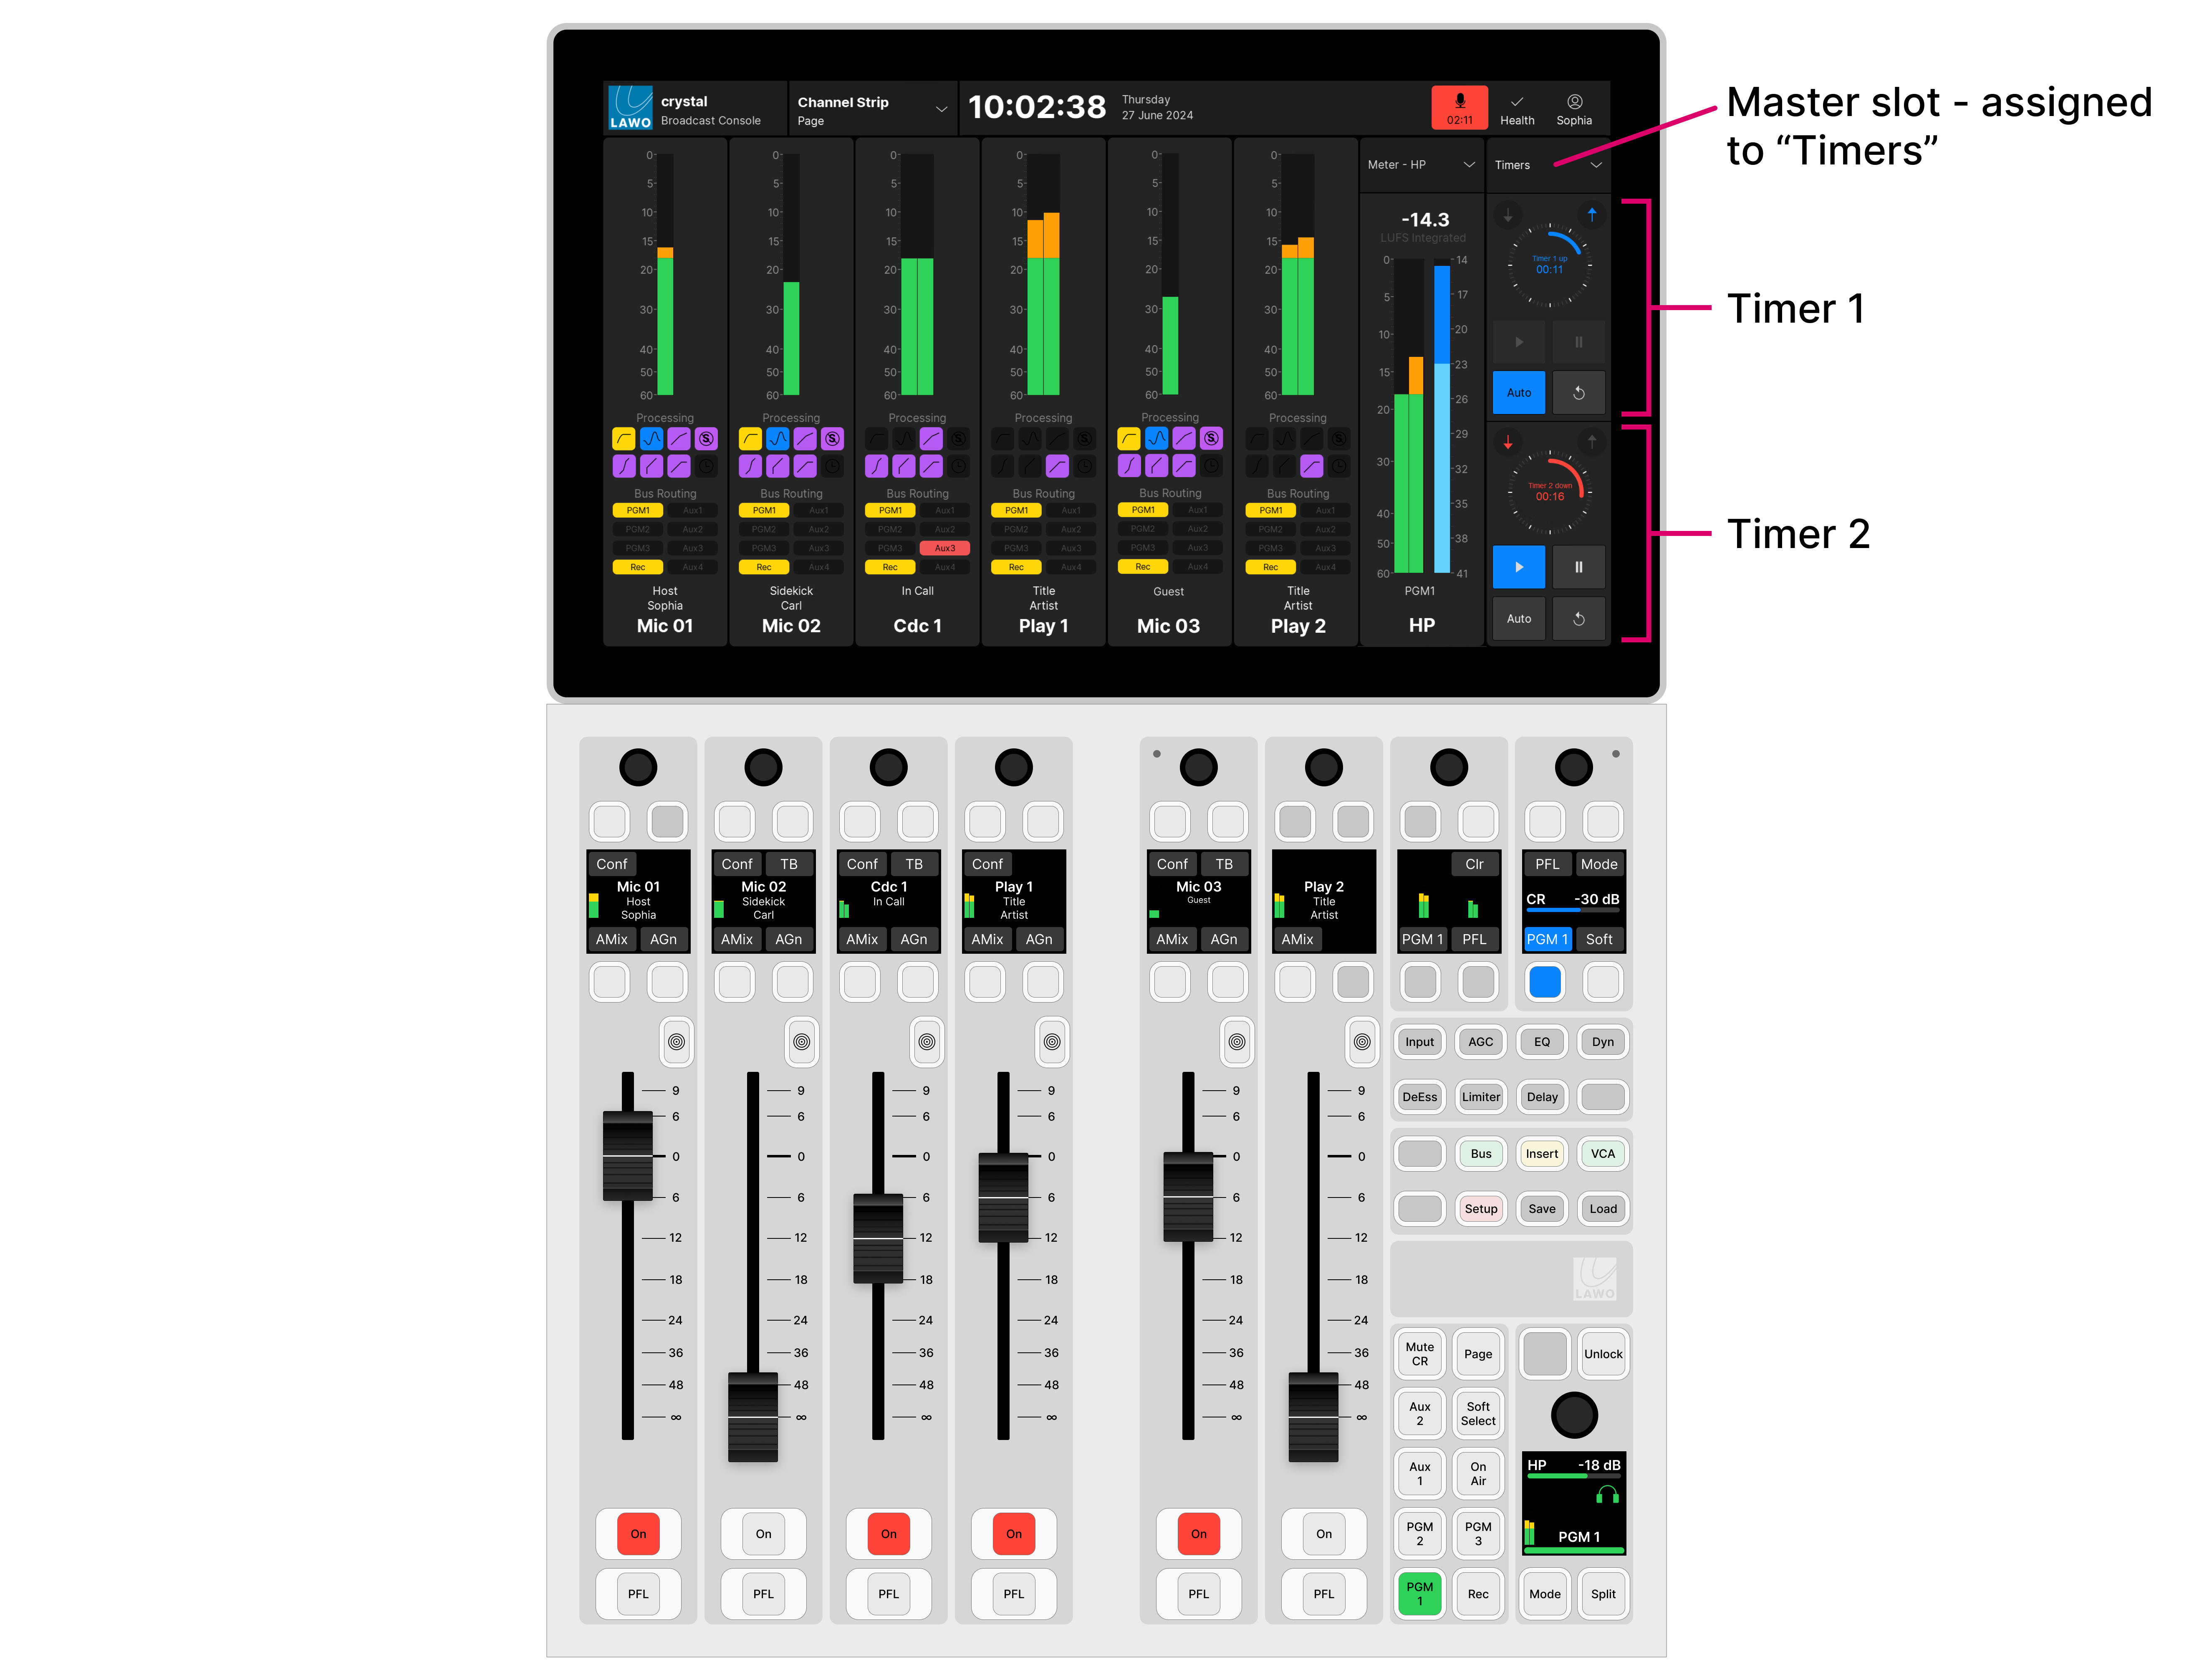
The standard configuration supports two independent timers: Timer 1 and Timer 2. Both timers can be displayed on the GUI's 'Channel Strip' page by assigning one of the master slots to Timers (as described earlier).
Each timer has two modes of operation: count-up or count-down, and can be triggered either automatically or manually. When a timer is triggered automatically, the operation is defined by the Timer x Auto Mode option (in the 'Settings → Timer' dialog box). There are two possibilities:
- Mic Only = the timer counts only when a Mic source fader is open (applies to all Mic sources).
- All Faders = the timer counts when any fader is open (applies to all faders).
The operation is handled from the GUI's touch-screen (for both timers).
Setting the Timer Mode
The count-up or count-down mode is selected from the GUI using the arrows above each timer:
- Touch the up arrow (top right) to choose count-up mode.
- Touch the down arrow (top left) to choose count-down mode.
The color of the arrow and timer label indicate the mode: blue = count-up; red = count-down.
Count-up Mode
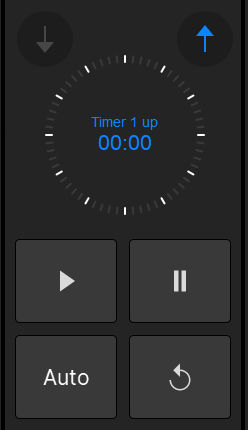
In count-up mode, the timer counts up from 00:00 and continues counting until the timer is stopped or reset.
 Timer (off) | 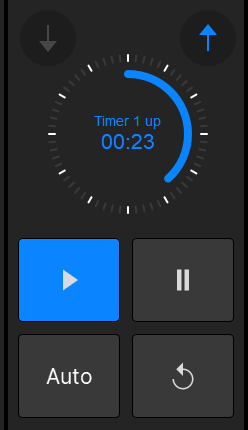 Timer (running) |
Count-down Mode
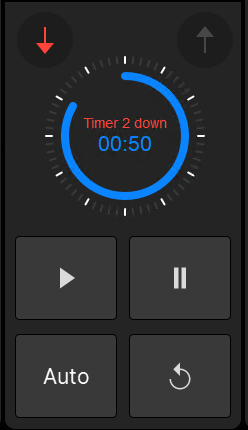
In count-down mode, the timer counts down from a starting value (called the Preset time) and turns red once a mid-point (the Alarm time) is reached. If the count-down reaches 00:00, then the timer starts to count back up. This shows how long the timer has been overrunning! In this instance, the Alarm status remains active until the timer is reset.
 Timer (off) | 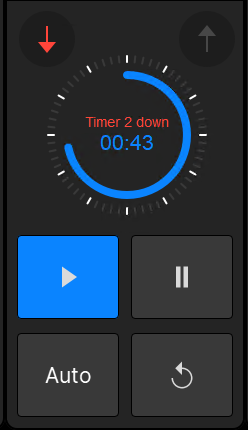 Timer (running) | 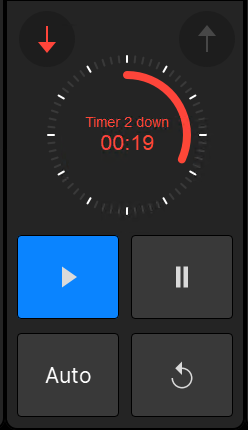 Timer (alarm on) |
To set the Preset and Alarm times, touch the current time value to open the 'Timer Properties'.
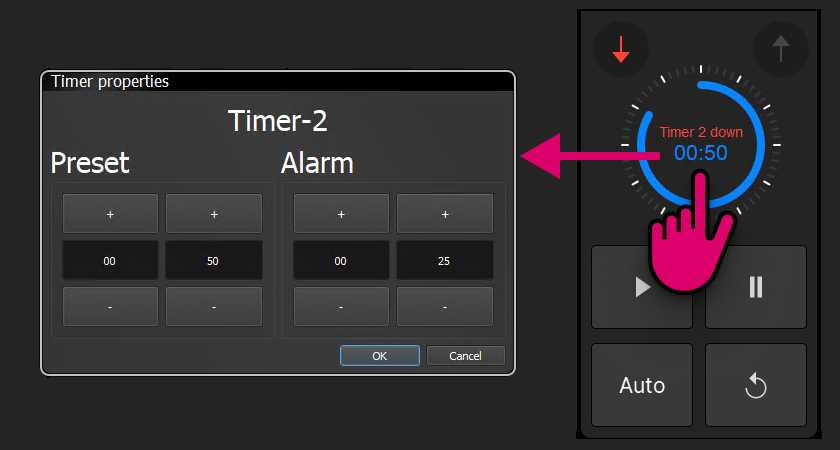
Type a number into the minute and second fields, or touch the + and - buttons to increase and decrease the current values. Then select OK to confirm.
Setting the Triggering Method
The triggering method is selected using the Auto button (on the GUI):
- Auto on (lit) = automatic start/stop.
- Auto off (unlit) = manual start/stop.
Manual Timer Operation
To use a timer manually:
1. First make sure that the Auto button is turned off (unlit).
2. Then set the count-up or count-down mode using the up and down arrows.
In count-up mode, the timer counts up from 00:00. In count-down mode, the timer counts down from the Preset time (described earlier).
3. Use the start, stop and reset buttons (on the GUI) to operate the timer as follows.
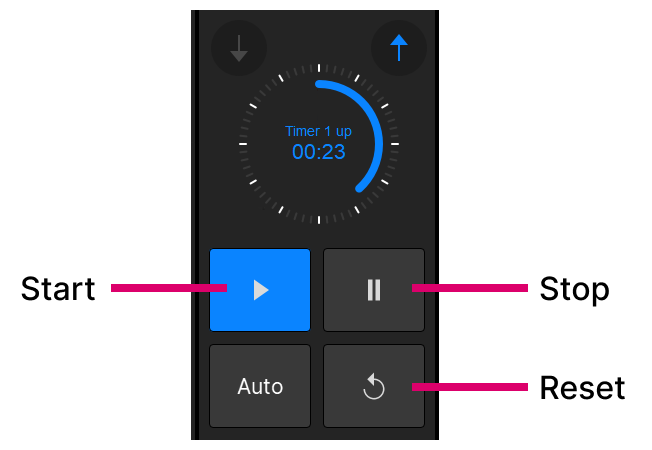
- Start - starts the timer from the last stop position/time.
- Stop - stops the timer. The current time remains on-screen until the timer is restarted or reset.
- Reset - resets the timer, either to 00:00 (count-up) or to the Preset time (count-down).
In count-down mode, the timer value turns red once the Alarm time is reached. If the count-down reaches 00:00, then the timer starts to count back up.
Automatic Timer Operation
To trigger the timer automatically:
1. First make sure that the Auto button is turned on (lit).
2. Then open the 'Settings → Timer' dialog box (from the user menu).
3. Use the Timer Auto Mode option to set which faders are used:
- Mic Only = the timer counts only when a Mic source fader is open (applies to all Mic sources).
- All Faders = the timer counts when any fader is open (applies to all faders).
Note that this option only becomes active once Auto mode is enabled. If Auto is turned off, then the timer operation is manual.
4. Now set the count-up or count-down mode using the up and down arrows.
In count-up mode, the timer counts up from 00:00. In count-down mode, the timer counts down from the Preset time (described earlier).
5. Start and stop the timer by opening and closing the faders on the surface.
In our example, Mic Only is selected (in step 3) and so the timer starts automatically when a Mic source fader opens. If another Mic source fader opens, then the timer continues to run. The timer stops once all Mic source faders are closed.
6. To reset the timer, press the Reset button.