This topic describes how to change the physical position of a module in the diamond frame. For example, to move the central controls to the middle of the surface.
Overview
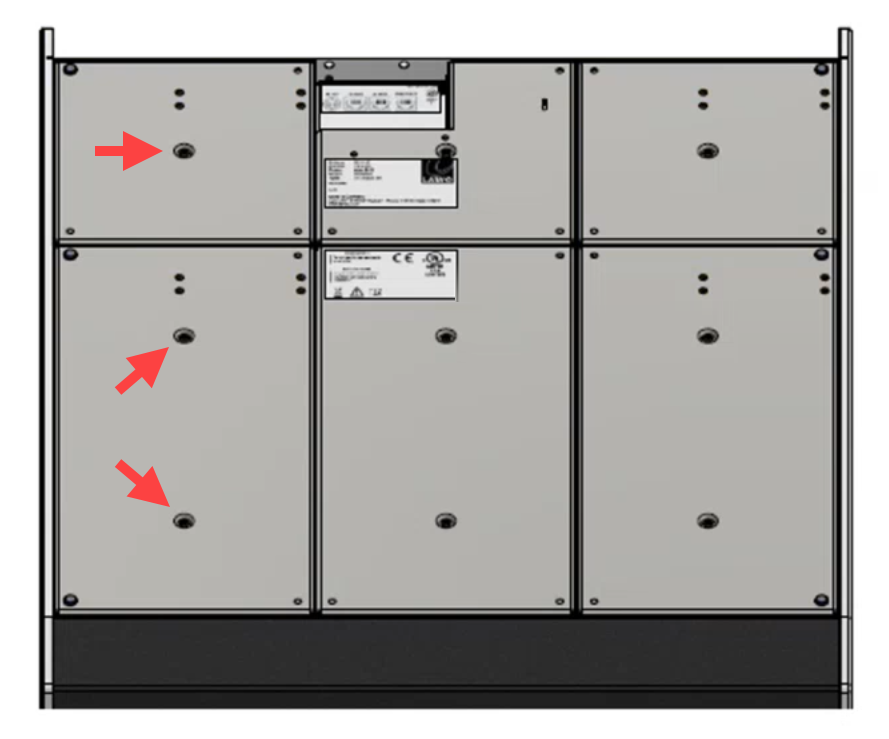
Each module is held in place by four corner posts (that push-fit into the frame from above), and either one or two fixing screws (accessed from underneath).
To exchange a module, you must loosen the fixing screw(s), lift out the module and unplug the connectors. Then fit the replacement module in the reverse order.
Once the new module is in place, it is important to remember to tighten the fixing screws. In particular, pay attention to the module that sits above the frame's connector board. If the screws are not tight, then this module may lose its connection to the Ethernet port and the IP connection to Power Core will be lost.
Instructions
1. Power off the surface.
2. From underneath the frame, remove the module's fixing screw(s).
Standard modules have two screws and extension modules have one. The image below shows the screw positions in an extended frame.
3. From above, pull the module up to release it from the frame.
You can use the rotary controls to help get a good grip. Start by popping out the upper posts. Then use your hands to ease the module up and pop out the lower posts. Take care not to crush any of the cables.
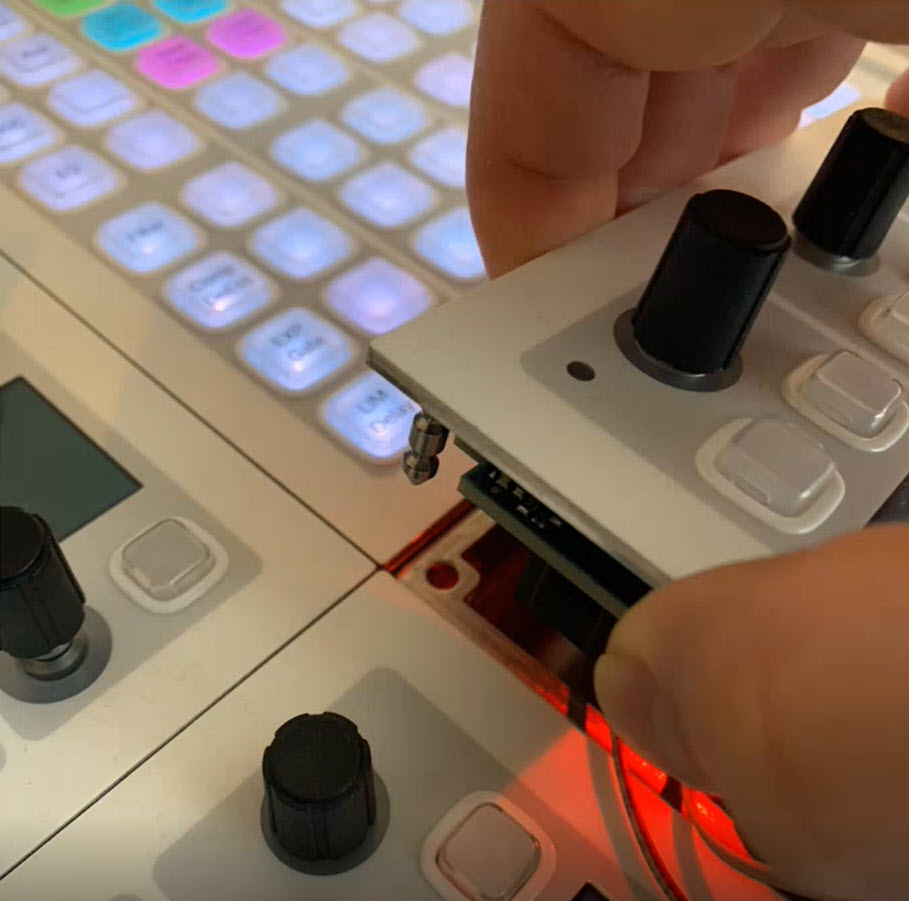
4. Remove the three connectors: 1 x power and 2 x CAN bus, taking note of which cables are the CAN in and CAN out.
5. Fit the replacement module in the reverse order.
Take care to push the module fully into the frame from above; it should snap into place.
6. Replace all of the fixing screws (from underneath the frame) and tighten them securely.
The screws must be tightened to secure the module to the frame and ensure a good connection (for modules mounted above a connector board).