The Filters button can be used to filter the contents of a table. For example, to view only the devices in a particular location (in the 'Devices' page). Or, to view only the senders from a particular device (in the 'Stream Routing' page).
Apply a Filter
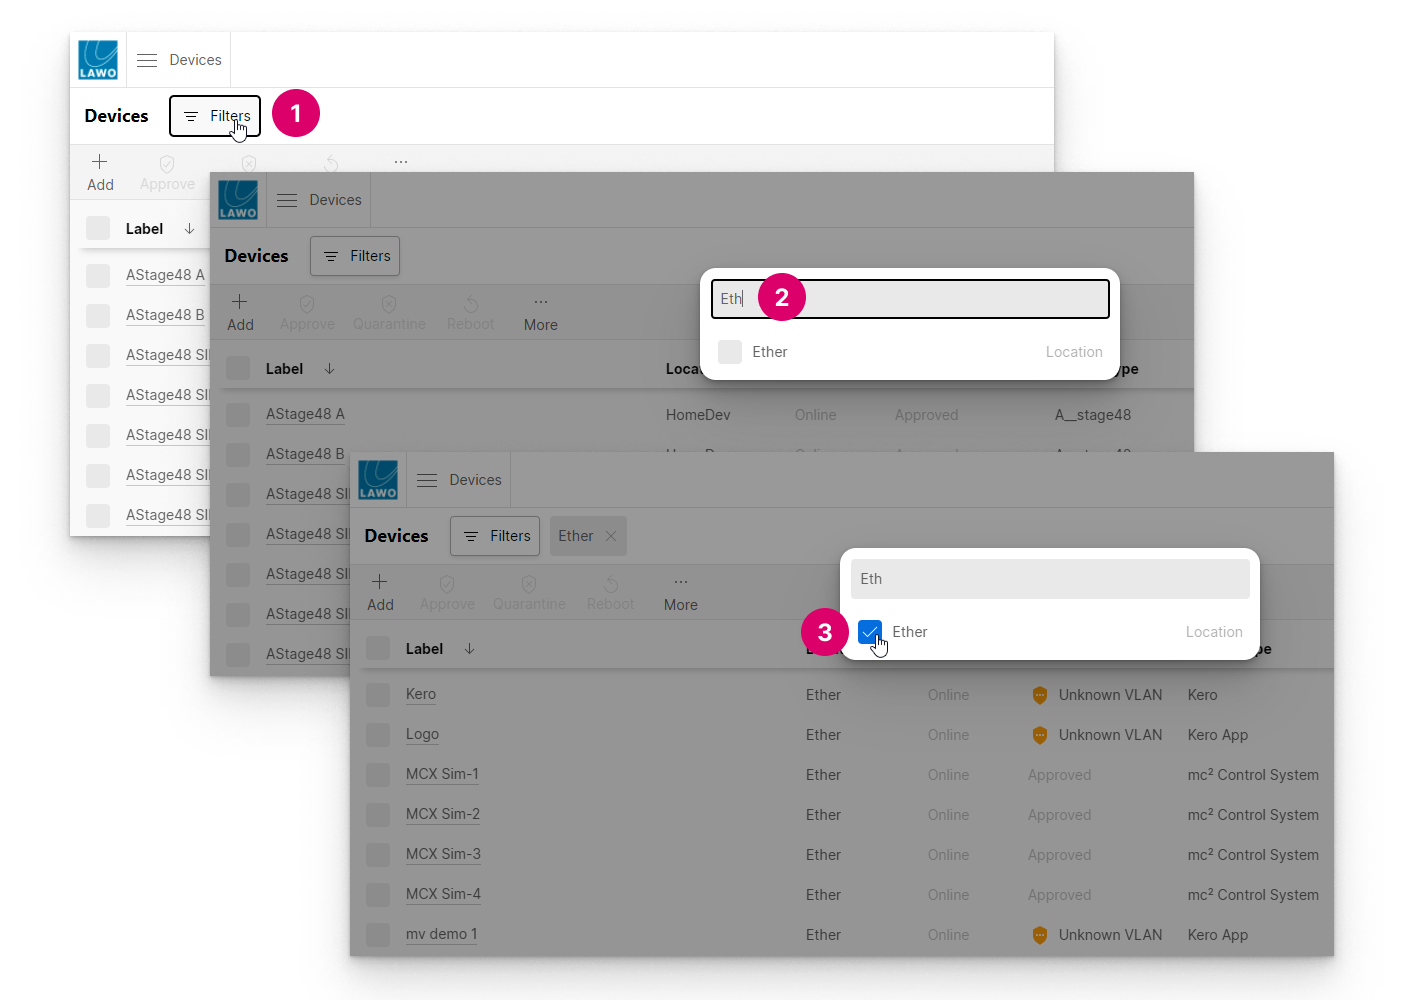
1. Click on the Filters button (1) and either:
- Start typing into the search field (2) and then select a checkbox (3).
- Or, choose one of the 'Filter by' options (2) and then a checkbox (3).
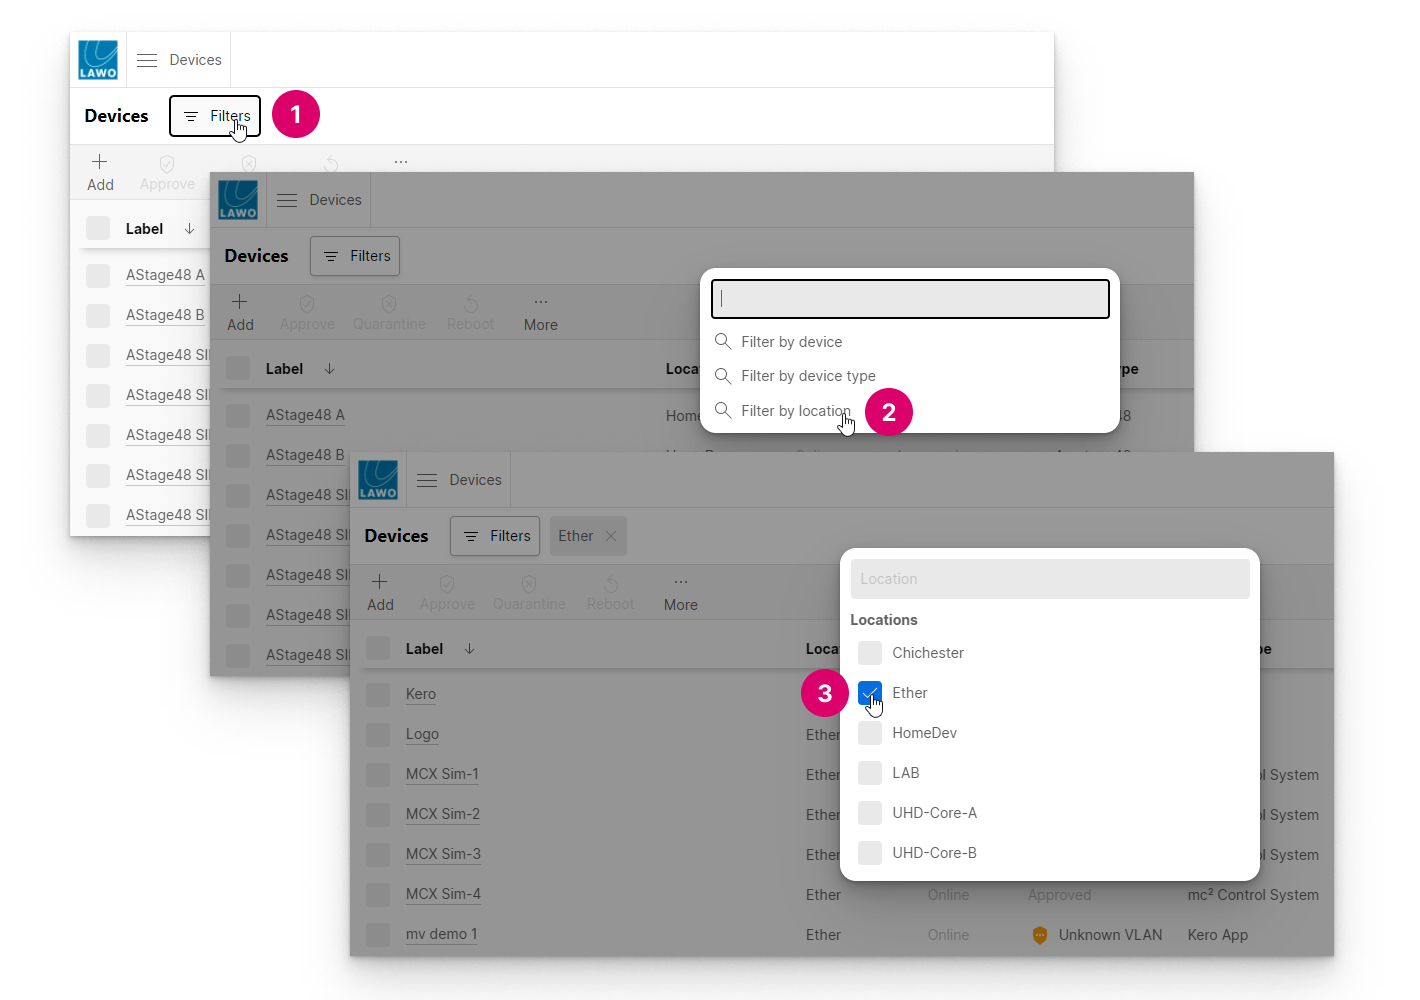
The first method is great if you know exactly what you are looking for, as the text entered is used to search across all filter types. The second method can be used to browse all of the available options for each type.
2. Once an option is selected, the table updates to show the filtered results. You can select more than one option if you wish.
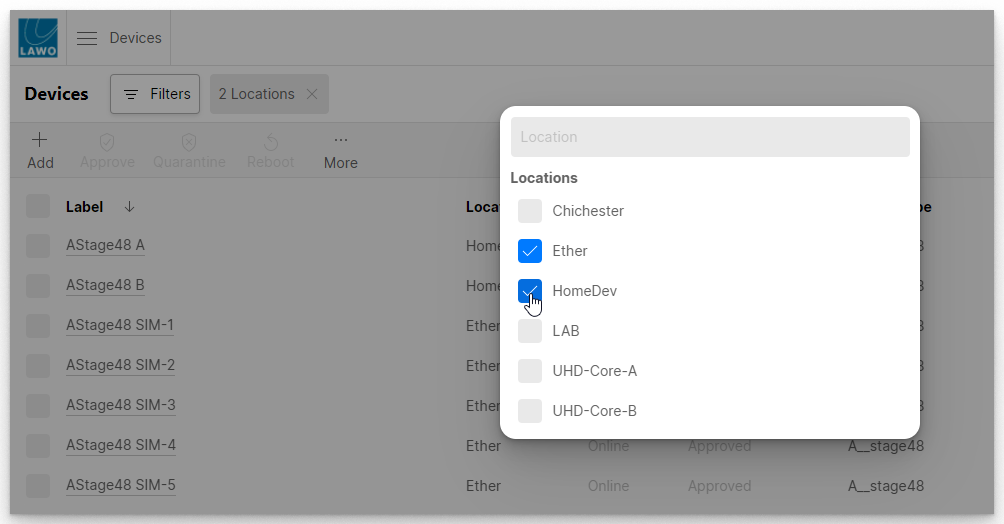
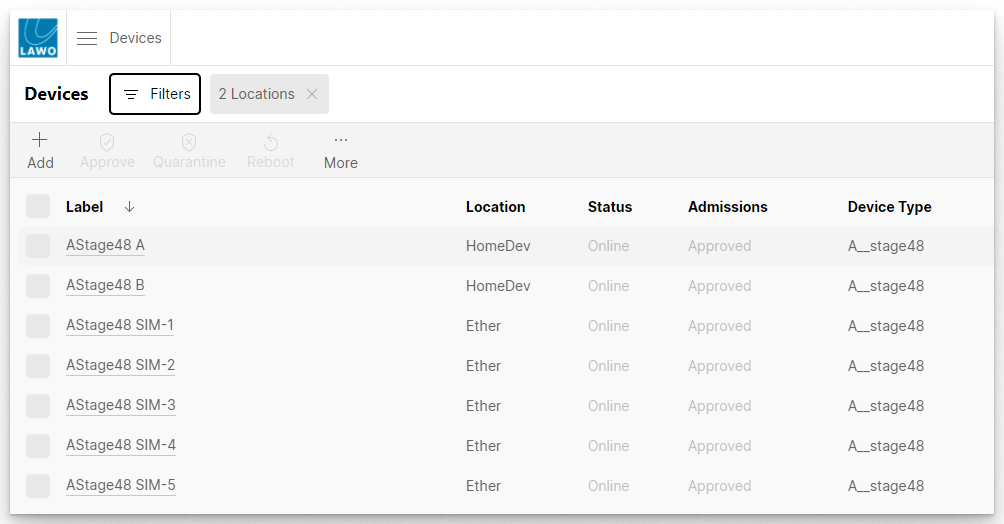
3. Click anywhere outside of the 'Filter selection' window to close it and view the results.
The applied filter(s) are displayed beside the Filters button. In our example, for the two locations.
Combine Filters
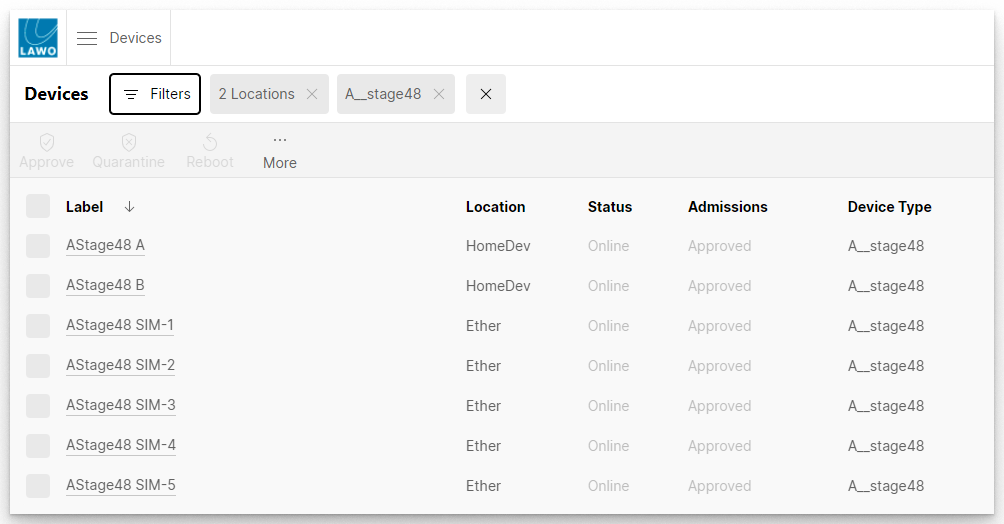
Filters of different types can be combined by repeating the process to add another filter type. For example, to view all A__stage48 devices in the selected locations.
Edit & Clear Filters
All existing filters are grouped by type and displayed beside the Filters button.
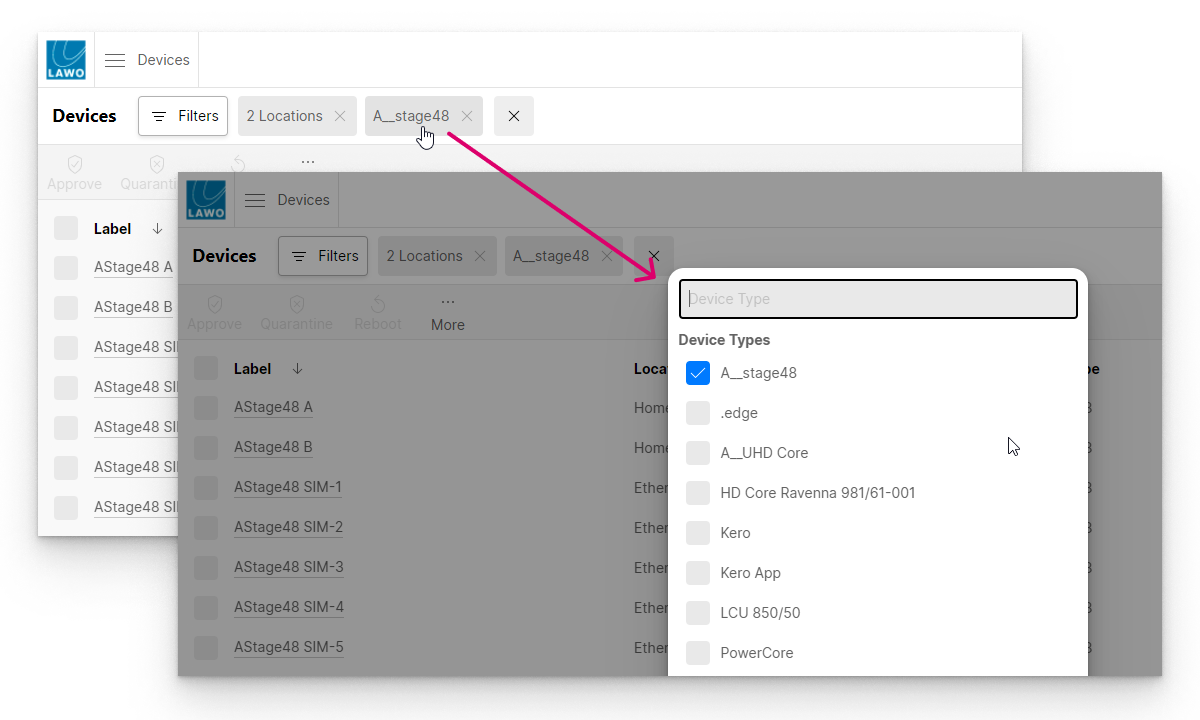
1. Click on an existing filter to re-open the 'Filter selection' window. From here you can edit the filter selections for a particular type.
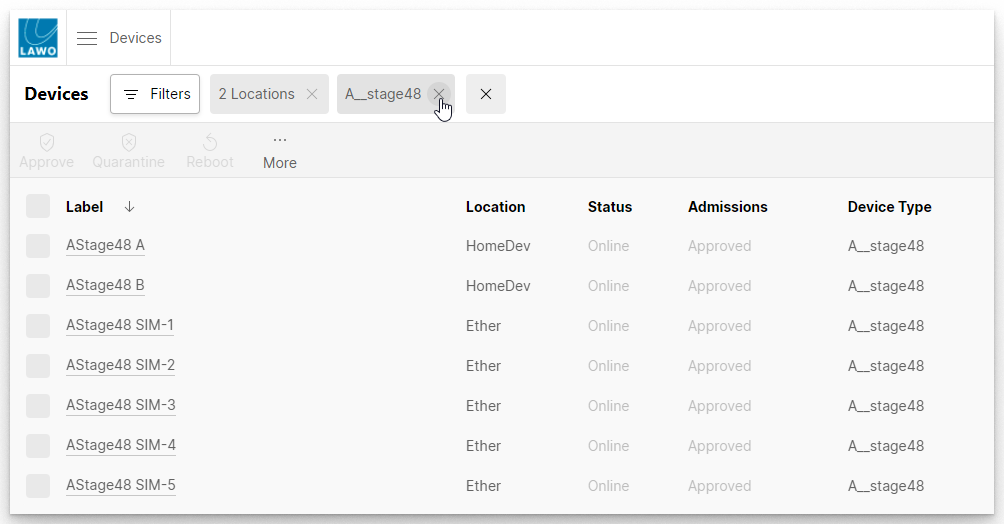
2. Click on the X beside an existing filter to clear all filters of that type.
3. If more than one filter type is applied, then a master X appears. Click on this to clear all filters.
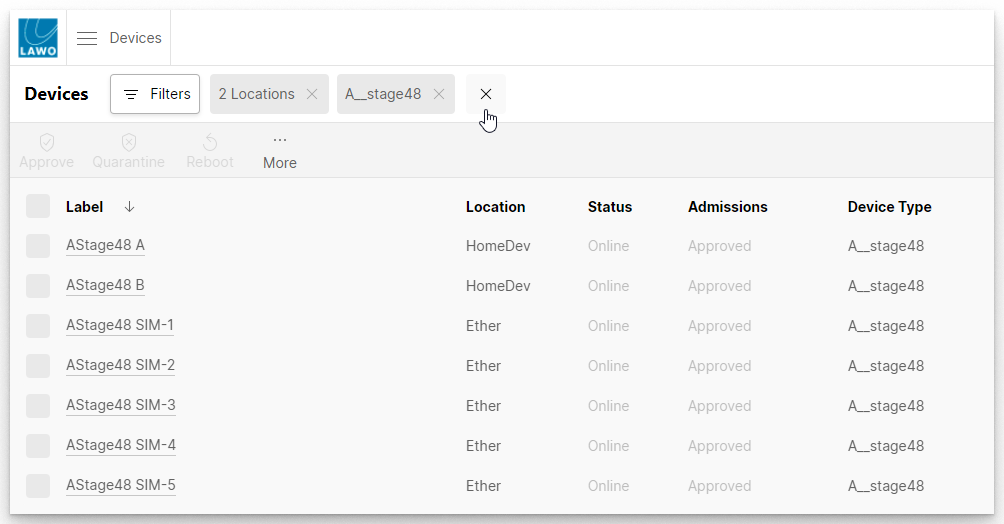
The view resets to show all of the devices known to HOME.
You can find more examples of how to use filters in the documentation for the 'Devices' and 'Stream Routing' pages.