A stereo downmix can be created from a surround channel as follows.
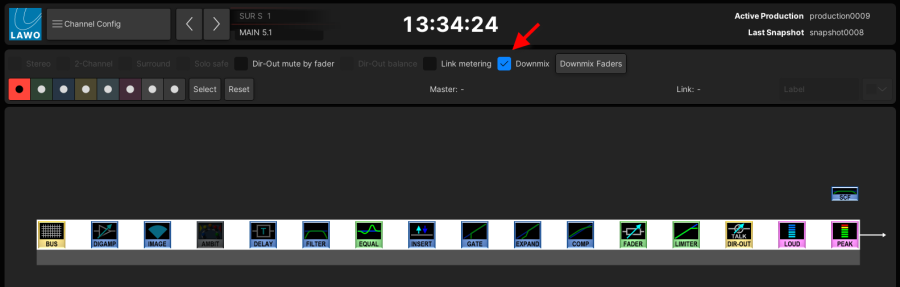
1. Open the Channel Config display on the Central GUI.
2. Select the Surround VCA master - either via the Signal List display or Access/Assign panel.
3. Turn on the Downmix option.
Note that, to enable the Downmix option, you must have a Surround VCA master in access.
Channel Config display
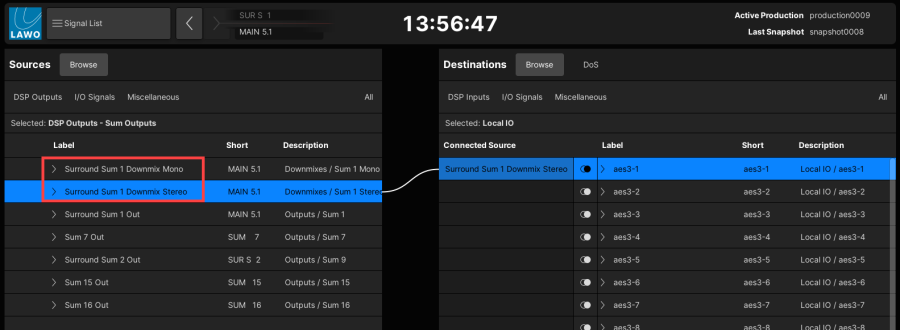
Once Downmix is enabled, a stereo (and mono) downmix are created. They appear automatically under the DSP Outputs in the Signal List display. From here they can be connected to a destination in the usual manner.
Signal List display
By default, all channels contribute equally to the stereo downmix except the LFE (which is turned off).
- To adjust the downmix levels:
1. Select Downmix Faders in the Channel Config display.
2. Use the on-screen faders and Mute buttons to adjust the downmix matrix levels or mute a channel.
Channel Config display
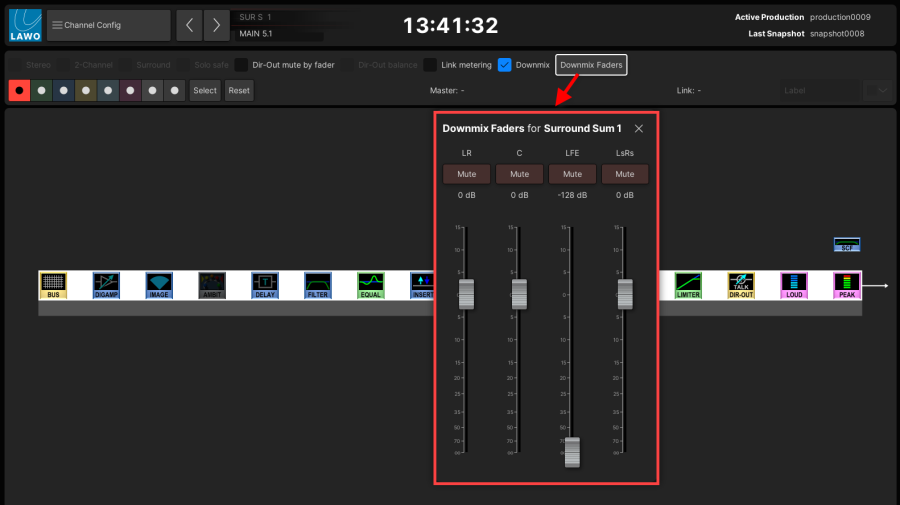
3. When you have finished editing, touch X at the top right to close the pop-up.
The settings for each downmix are stored within productions, so remember to save or update a production to save any changes.
By default each matrix is isolated so that it will not be affected by a snapshot load.